General
USB HUB -Ethernet Port Not working for MAC ?
Aug
PiBOX USB HUB not working with MAC OS?
This blog will help address the issues with the same.
Background:
macOS 11 (Big Sur) created immense excitement in the Indian tech community, promising remarkable enhancements to Apple’s operating system. However, just like other software unveilings, this update brought about notable alterations. One of the most substantial modifications centered around the complete transformation of how Hardware Drivers interact with the Operating System (System Extensions, or KEXTs, were replaced by Driver Extensions, or DEXTs).
Particularly concerning Plugable (as well as other prominent brands), this fresh driver architecture led to compatibility concerns with USB Ethernet adapters that utilized the ASIX AX chipset, a key component in our PiBOX adapters and similar products. Despite our reliance on their seamless plug and play functionality, Ethernet drivers are intricate. Crafting stable and high-performing drivers within the new DEXT architecture and adhering to the necessary new code signing process posed a non-trivial challenge.
Overall, the functionality now matches the previous KEXT/System Extension approach, achieving comparable upload and download throughput ratings. This accomplishment stems from Apple’s well-thought-out design for extensions operating outside of the system kernel. This design also curbs the potential for system hang-ups or locks attributable to kernel-level extensions functioning within the system space (akin to KEXTs). Nonetheless, it’s important to note that these drivers are not without issues. On M1 Apple Silicon systems, certain problems have been noted regarding Sleep/Wake (Power Nap) behavior. Additionally, some specific applications, such as Spotify, require Wi-Fi to be activated and connected for the initial connection.
Further details can be found in our FAQs section below for any additional queries.
Now – Lets get to the Fix!!
Just install the required drivers for your MacOS.
Use the following drivers for:
- MACOS 12 or above: Click here
- Apple macOS 11.3 to 11.6 : Click here
- Apple macOS 10.9 to 10.15 Drivers Installer: Click here
Optional: For other platforms or for up to date drivers please do visit the manufacturer link here
INSTRUCTIONS:
Driver installation procedure is provided as a PDF on the downloaded file above.
If there are issues – Refer FAQ below or Please contact support via Whatsapp.
Finally:
We are comitted to ensuring pleasant experience and we standby our product. Please share your product review on the respective platforms as it will help other customers make informed decisions.
Who is ASIX and why should we install their drivers?
ASIX is a very famous network chip manufacturer. They make chips including the ones used on the Apple network adaptors.
Why does it affect my MAC ?
Apple has enforced DEXT and this driver is not auto detected and needs to be installed manually
Are Ethernet Adapters from other brands affected by this OS update?
Yes, all brands of USB Ethernet Adapters that use ASIX chips and drivers are affected. This includes Amazon, Anker, Dell, Uni, UGREEN, Cable Matters, etc. Regardless of brand, if the adapter uses ASIX USB to Ethernet technology for a network connection, it will no longer function as expected after updating to macOS 11.
Has Apple permanently disabled ASIX Support?
No, but ASIX is required to develop and release a DEXT that is notarized and approved through an Apple Developer certification process.
What is ASIX doing?
While the core issue is a change to low-level macOS processes that are out of ASIX’s hands, ASIX is working to get them added for future relases of chips.
Additional Troubleshooting if needed:
Once drivers are installed and the adapter is properly plugged in you should get a connection. But, sometimes there are exceptions, and you may need to manually add the adapter to your network devices to be able to use it. This is easy to do, so let’s get started!
Manually add the adapter
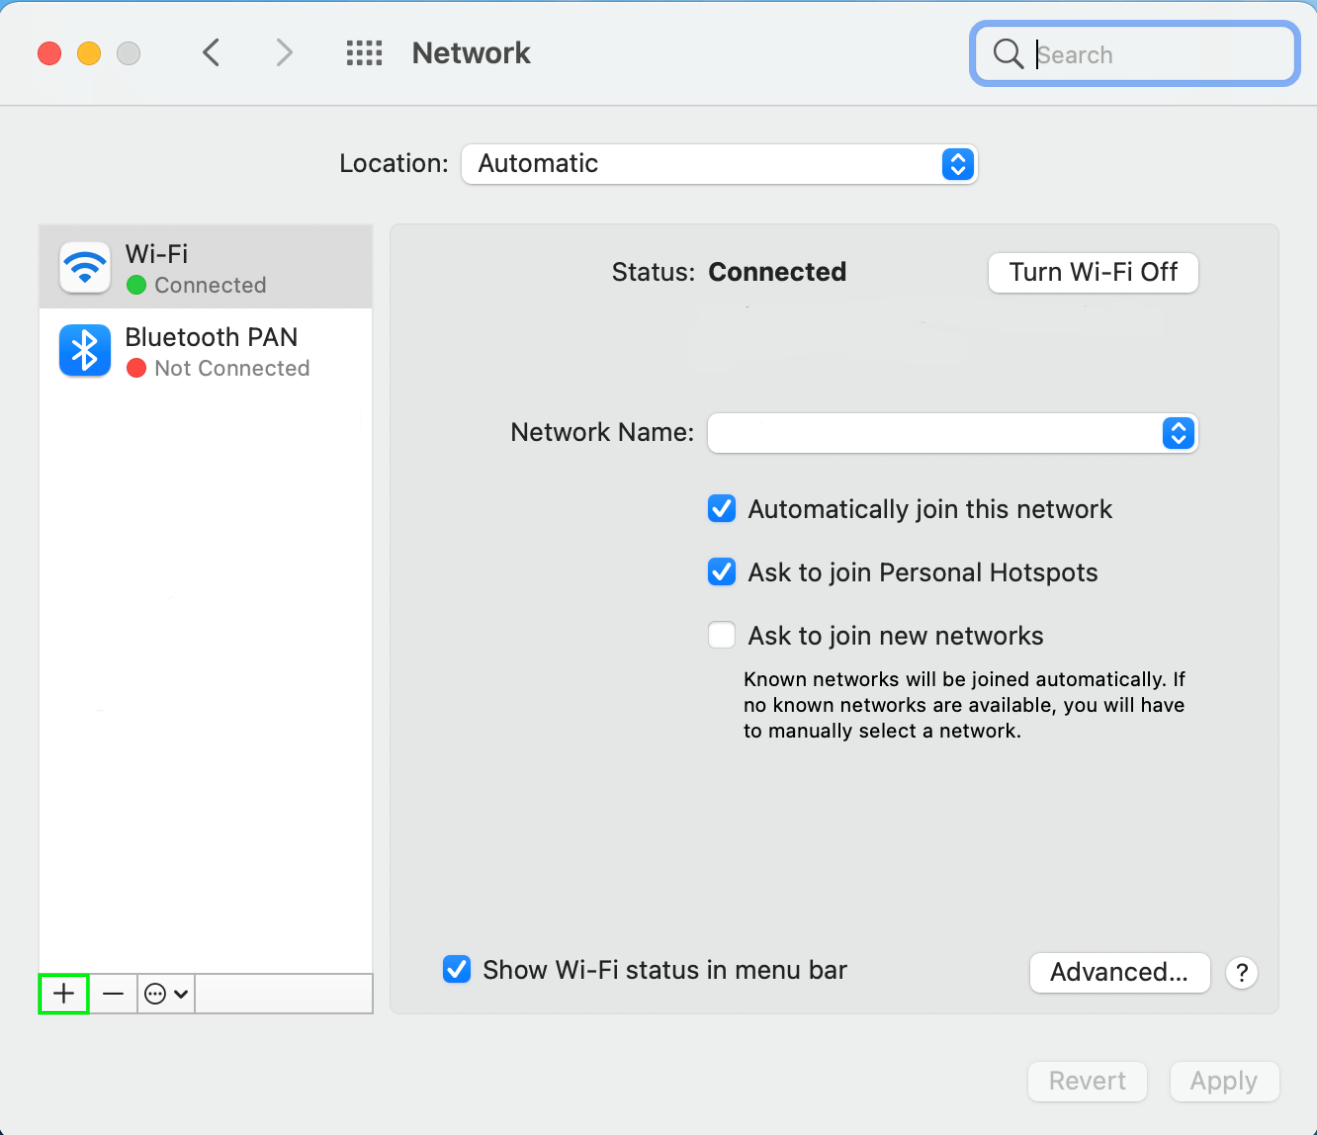
- Plug the adapter into your mac, and go to the Network Pane by clicking on the Apple Menu >System Preferences > Network. Then, click the plus button in the bottom left corner of the screen which will open a box to add the new adapter.

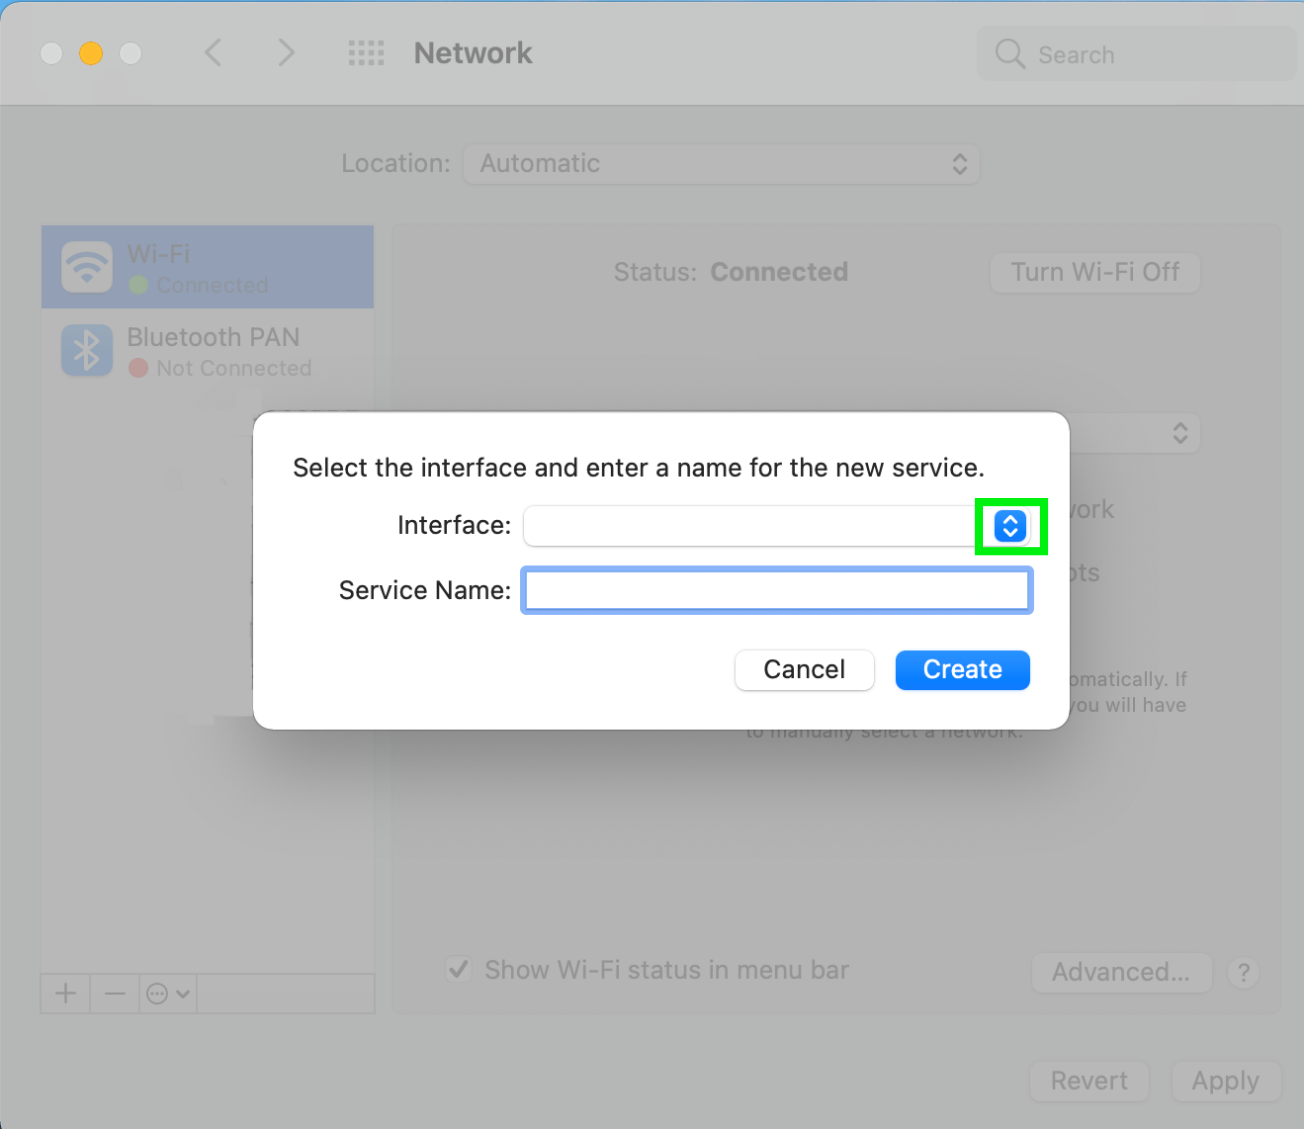
- Click the dropdown menu to open a list of available interfaces (devices).
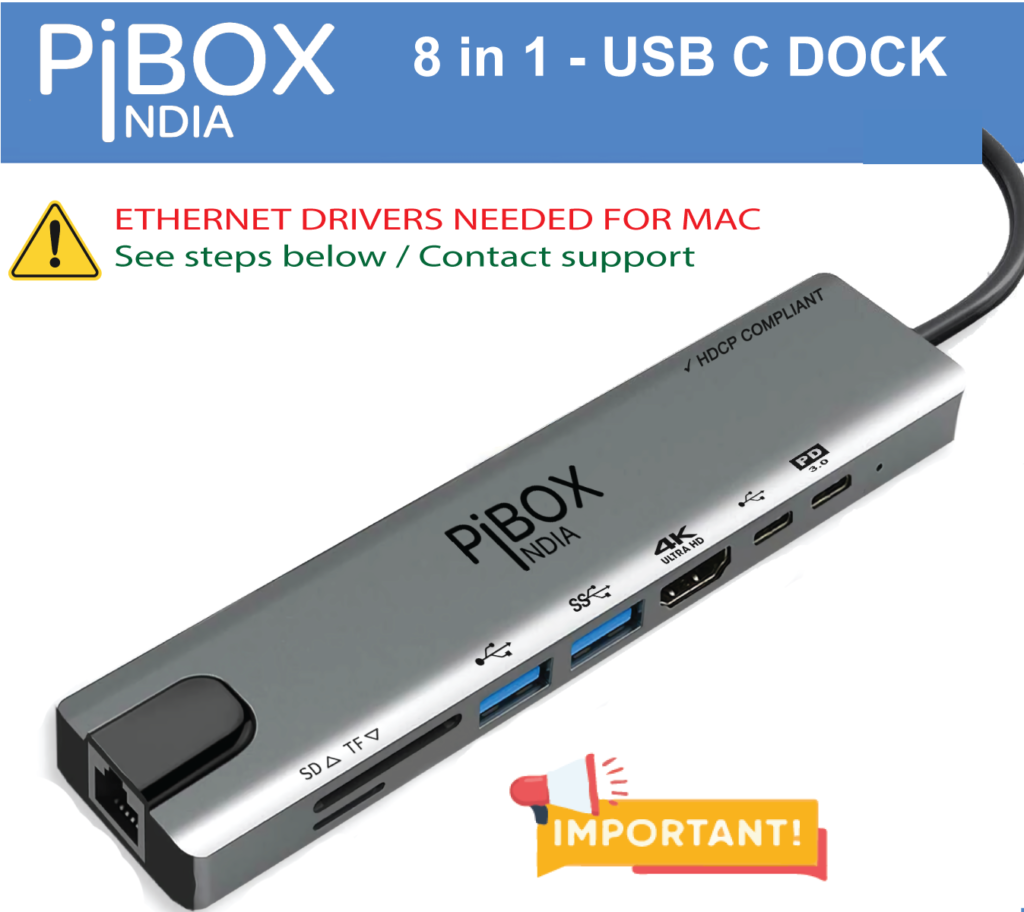
- The adapter should show up as USB 10/100 LAN, but may also show up as USB Ethernet, or AX88772C if you’re using our PiBOX India 8 in1 adapters. Click on it to move on.
- Now, you should see it listed as both the Interface and Service Name. Click Create to move on.
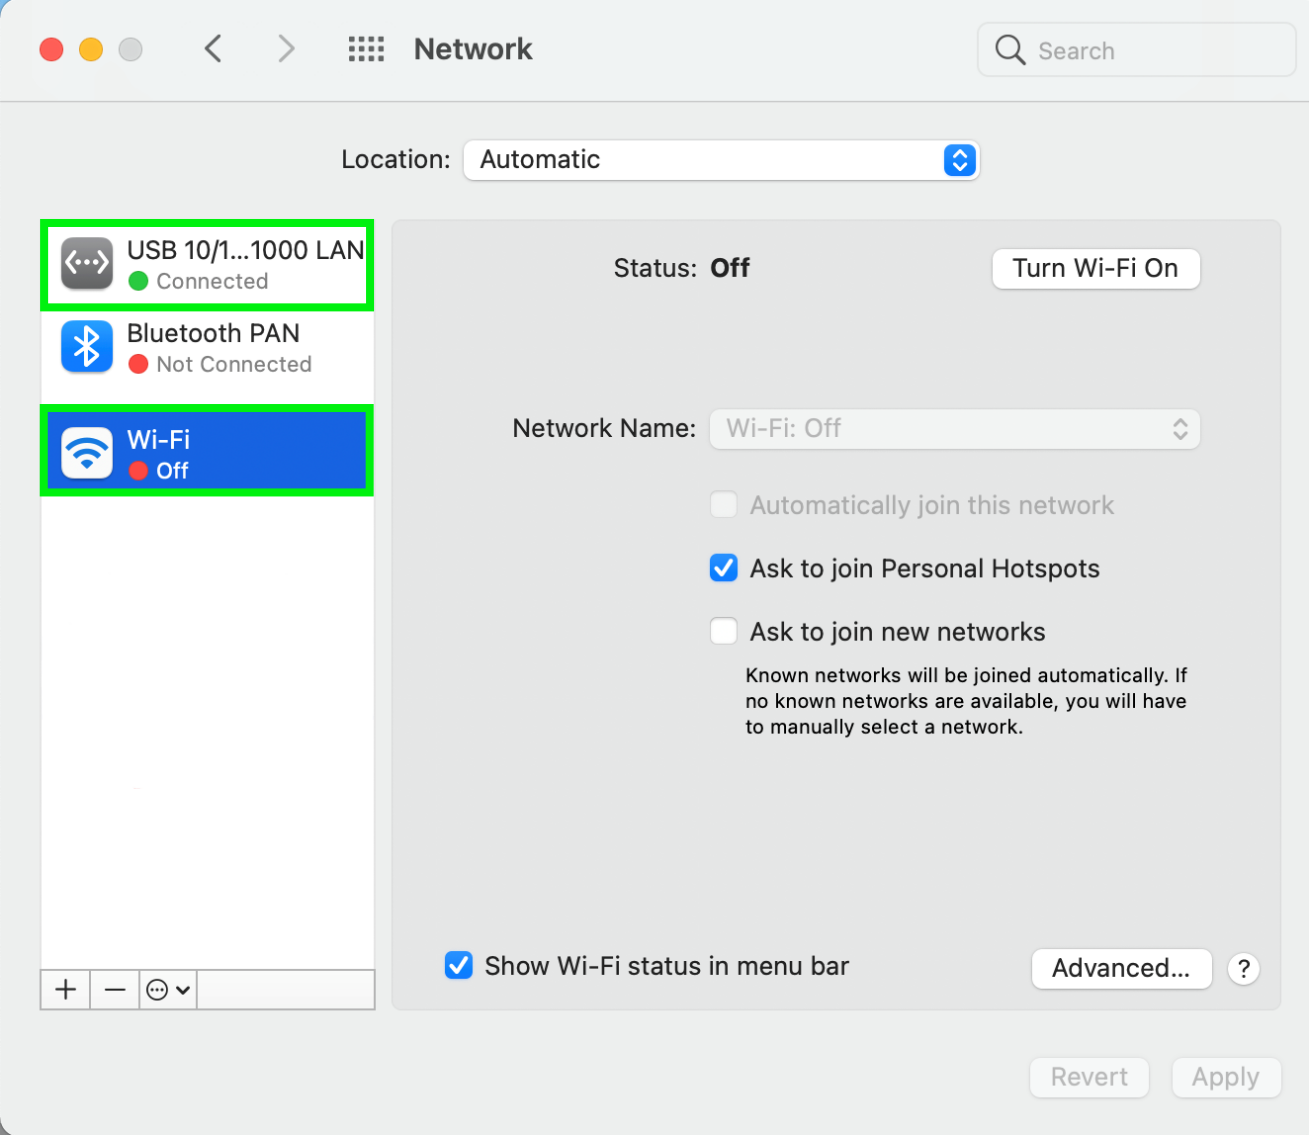
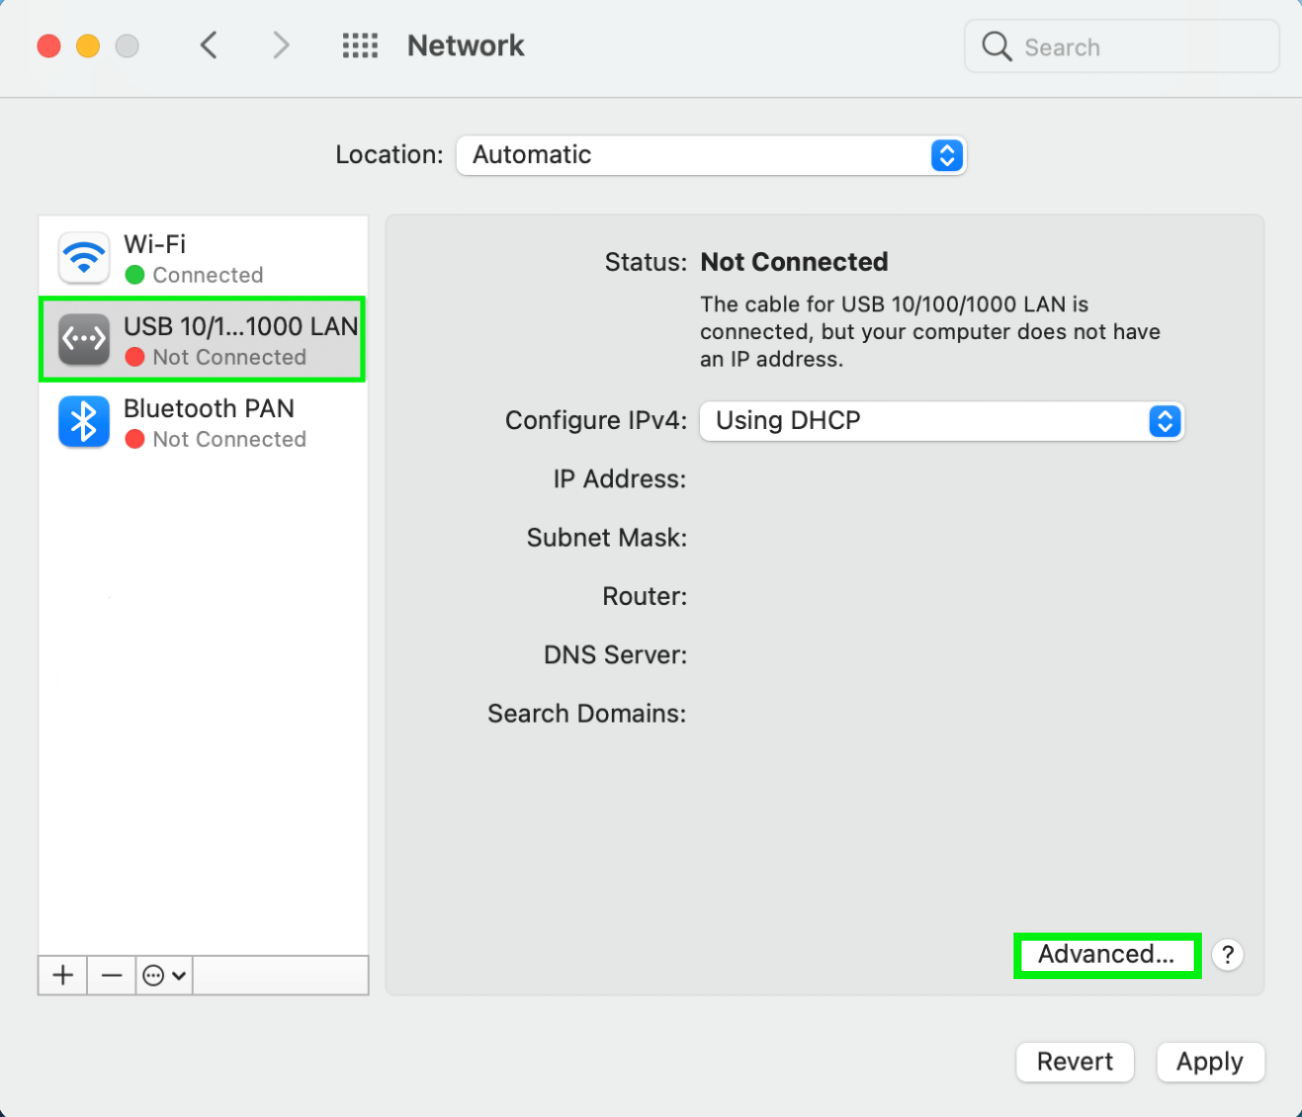
- Now we see the adapter listed in the device listing on the left. Check to see if it shows up as Connected. But, it may show up as Not Connected. If this is the case, click the button for Advanced… down in the bottom right corner of the screen to open a new window with options.
Renew the DHCP Lease
The Dynamic Host Configuration Protocol (DHCP) should automatically request and assign an IP address to the adapter when its plugged in, but this isn’t always the case. Renewing the DHCP Lease will manually request an update to the IP address configuration to let you get online using the adapter.
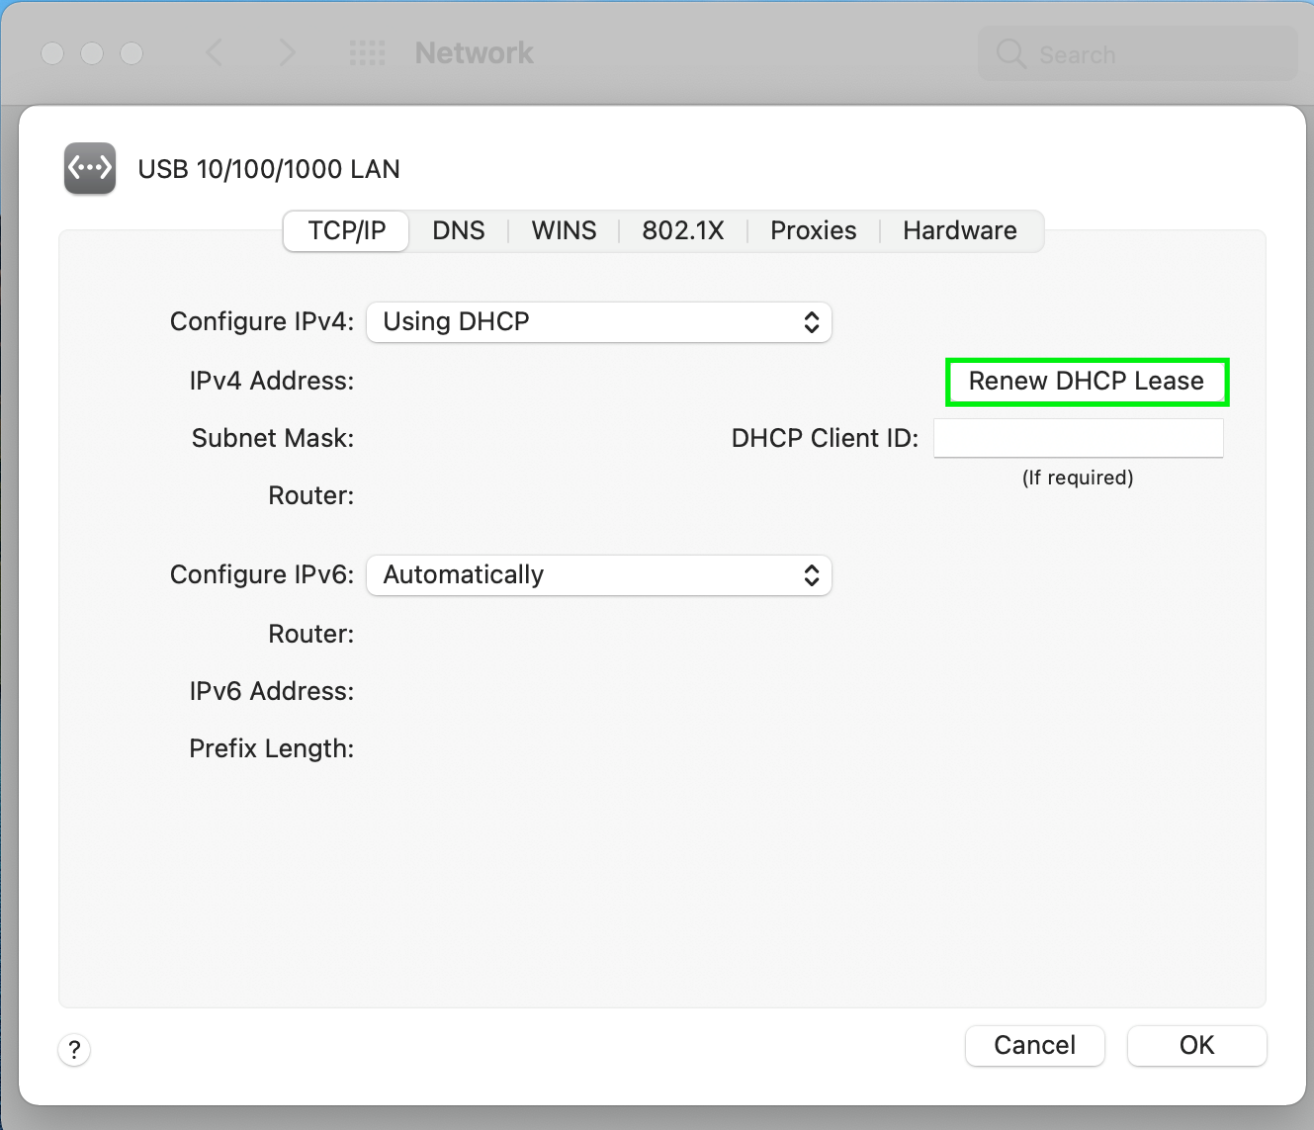
- Open the Apple Menu > System Preferences > Network > Advanced…> TCP/IP. Then, click Renew DHCP Lease.
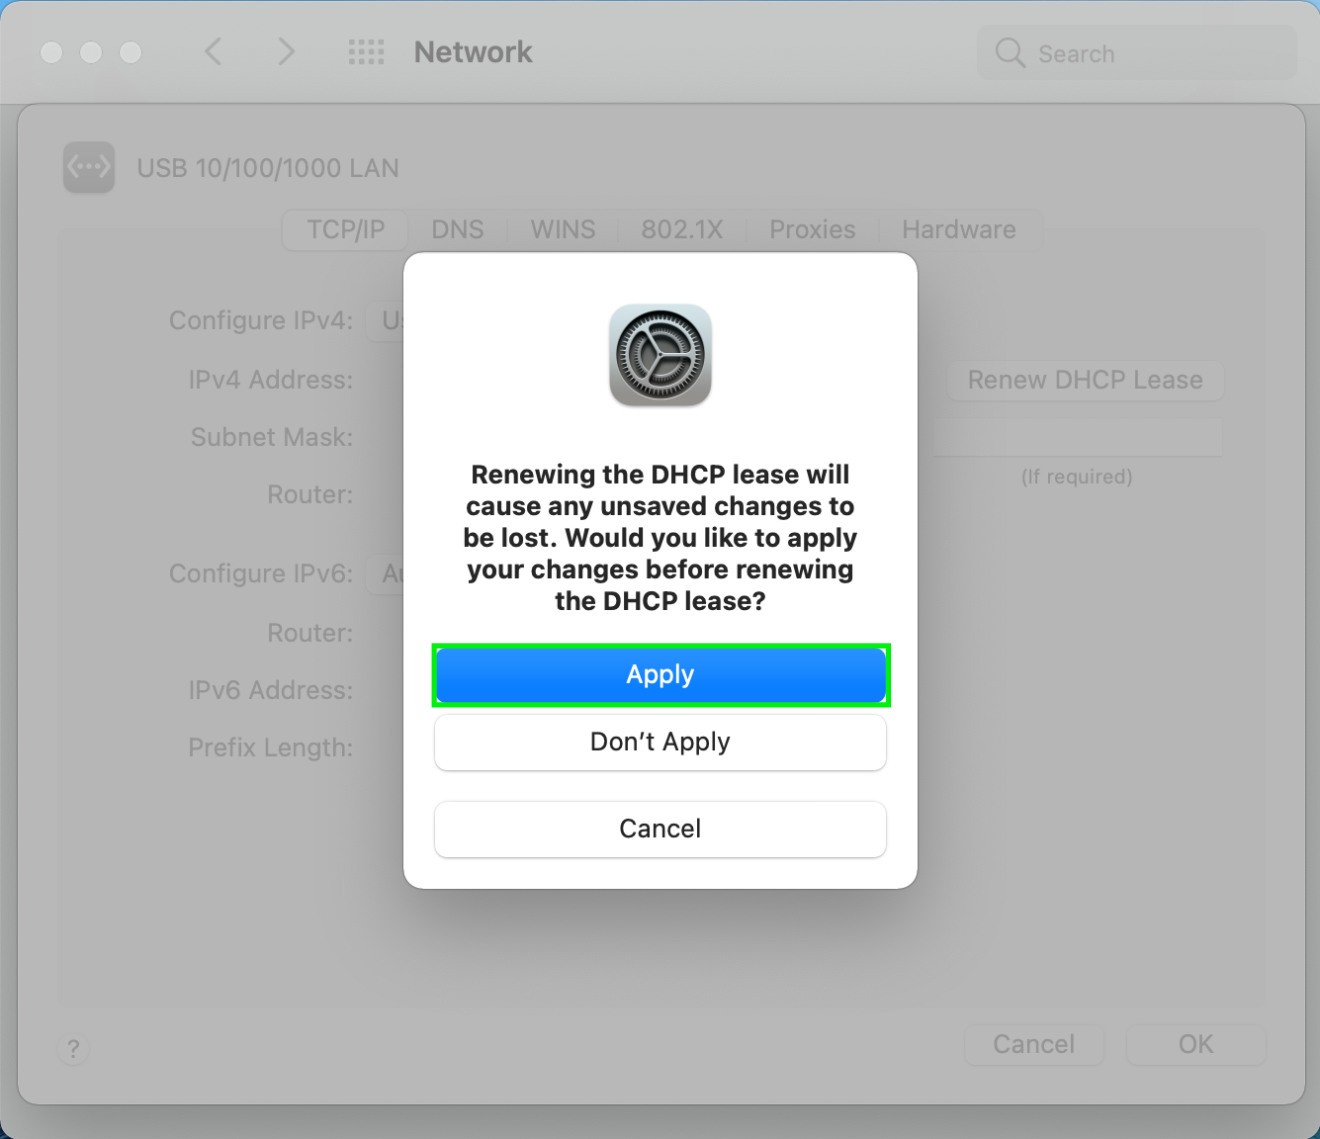
- A message will pop up stating that: “renewing the DHCP lease will cause any unsaved changes to be lost.” Make sure you’ve saved any documents, safely close any open programs, and then click Apply.
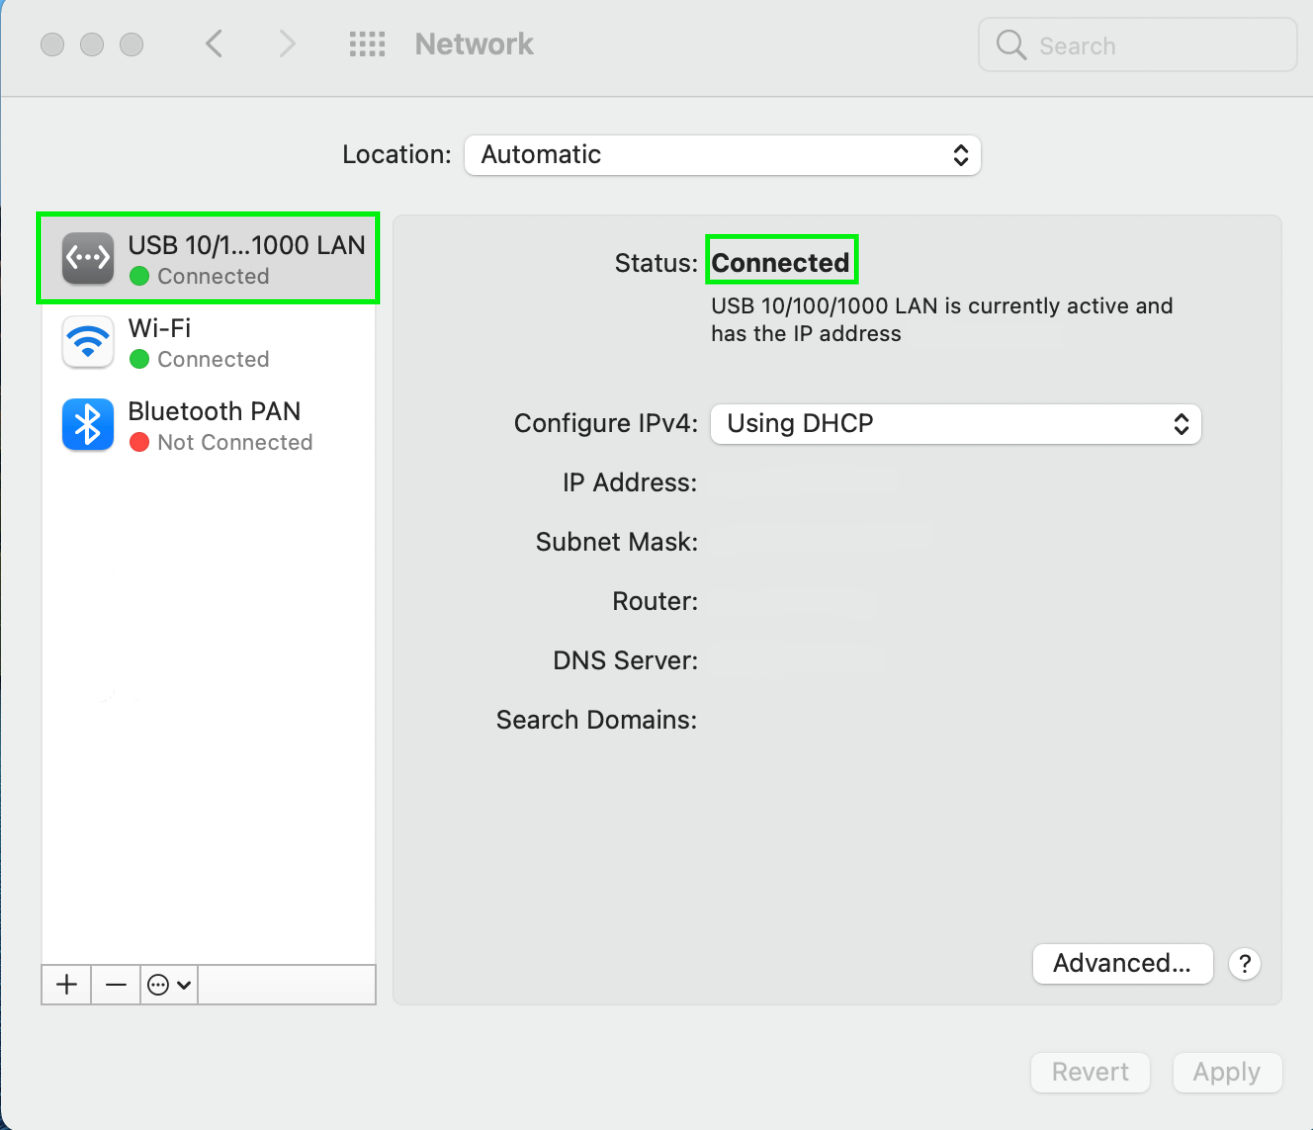
- Now, you should see the adapter is connected! But, your mac is likely still defaulting to the Wi-Fi connection.
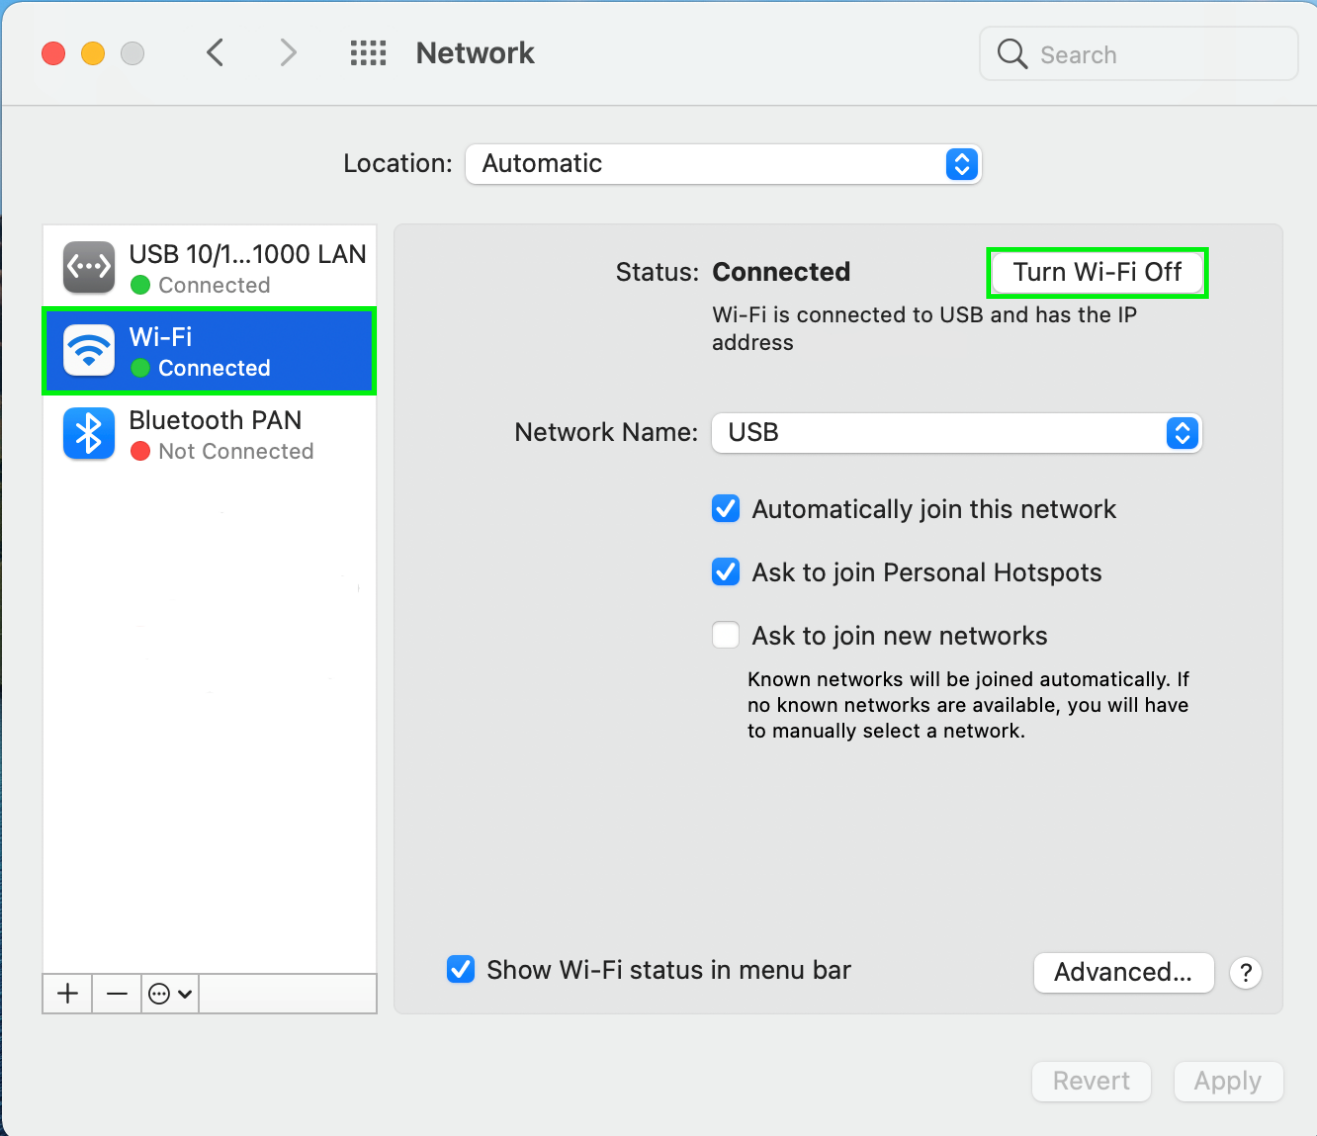
- We would suggest to turn off Wi-Fi while using the adapter for best results. Click Turn Wi-Fi Off, to turn it off.
- Now, the Wi-Fi connection should be off and the wired adapter should be on and connected. You can always turn the Wi-Fi back on when you need to switch back.