
General
Transparent Acrylic Case – Installation
30
Nov
Nov
Raspberry Pi 3B+ – Transparent Acrylic Case – compatible with 3.5 inch display
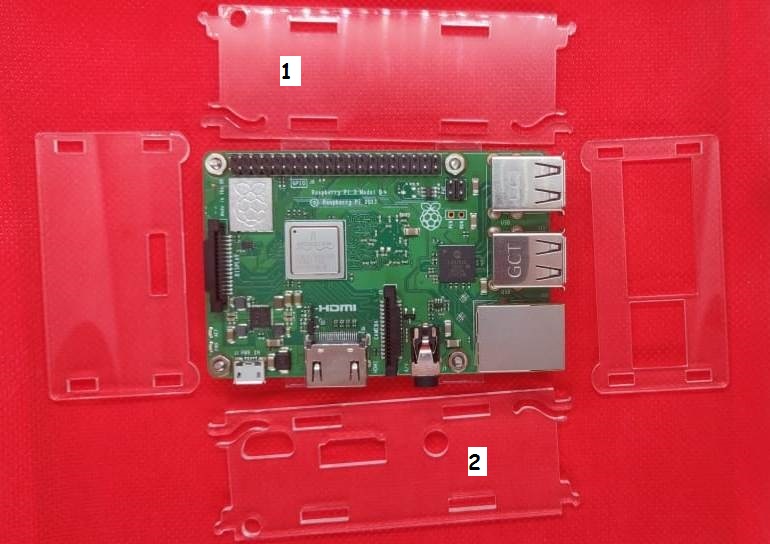
Includes:
- Acrylic Case
- Base -1, Long side – 2, Short side – 2
- Bolts – 4
- Metal nuts – 4
- Acrylic nuts – 4
Assembly:
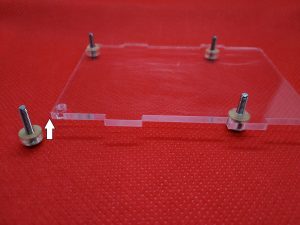
- Insert the acrylic nuts into the bolts.
- After aligning the board as shown in the Picture below, place the acrylic base over the bolts.
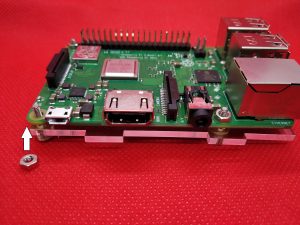
- Place the Raspberry Pi Board over the acrylic base.
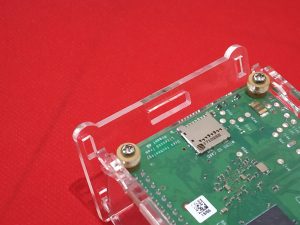
- Insert the metal screws over the bolts and tighten as shown in Picture below.
- Arrange the long sides of the acrylic case as shown in picture below and insert the long sides into the base.

- Place the top of short side acrylic case and push the bottom in to the long sides as shown.
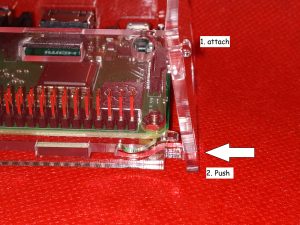
- Insert the next short side and the Acrylic case is fully assembled.
Disassembly:
- Invert the unit upside down.
- Push down on the 2 sides and open the side acrylic case as shown in the picture below.
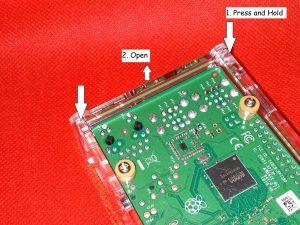
- Remove the long sides and dismantle the screws and base.