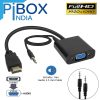
PiBOX India – SATA to USB 3.0 Converter for SSD/HDD – Hard Drive Adapter Cable
₹507.63 Original price was: ₹507.63.₹253.39Current price is: ₹253.39. Excludes GST
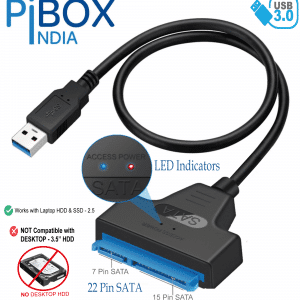
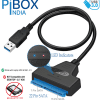
Upgraded your Laptop to SSD and looking to safely connect your 2.5 inch Laptop Hard drive as well! The Pibox India SATA to USB3.0 converter cable helps you easily connect your 2.5 inch Laptop Hard Drive to the USB3.0 Port. This Plug and Play converter cable is a portable solution that tucks away nicely in a laptop bag with no external power requirement to use the device. Add drive space to your laptop by connecting to a SATA 2.5″ SSD or HDD using this SATA to USB cable
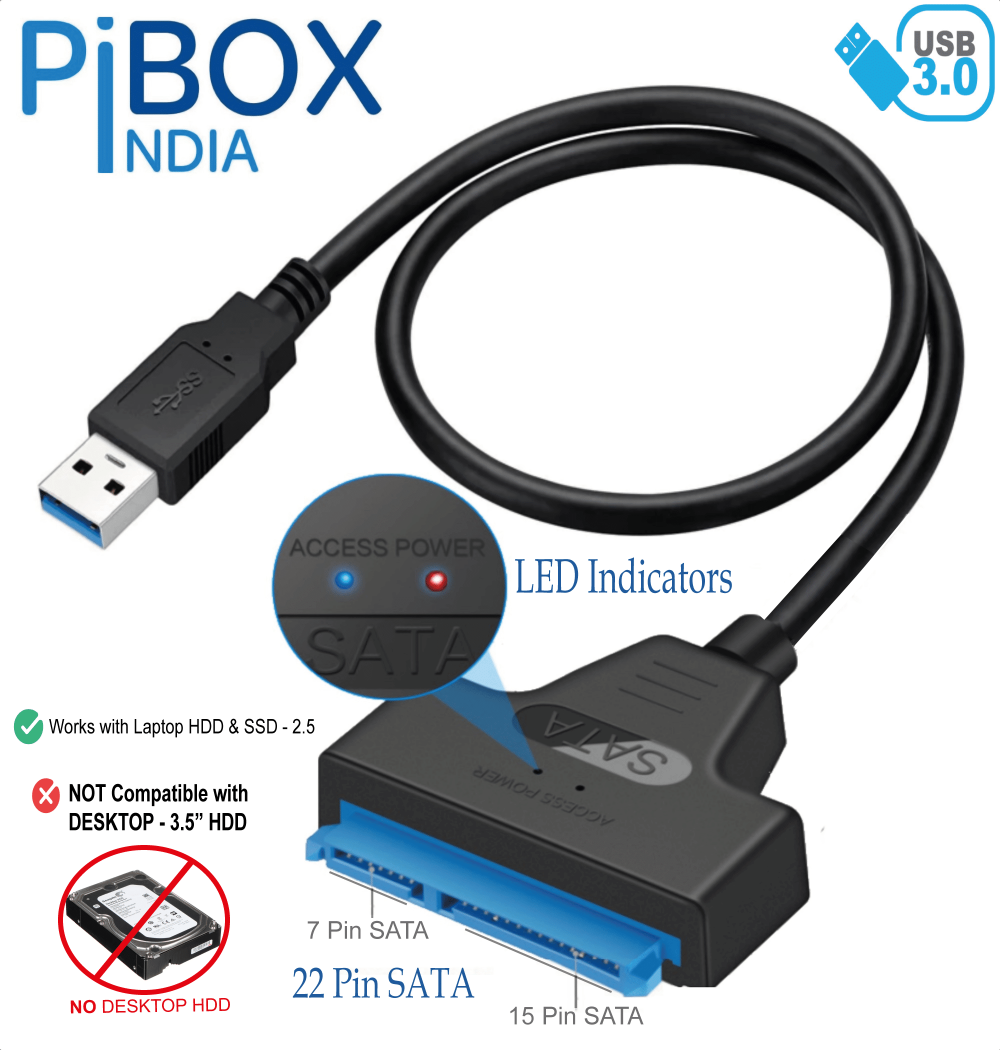
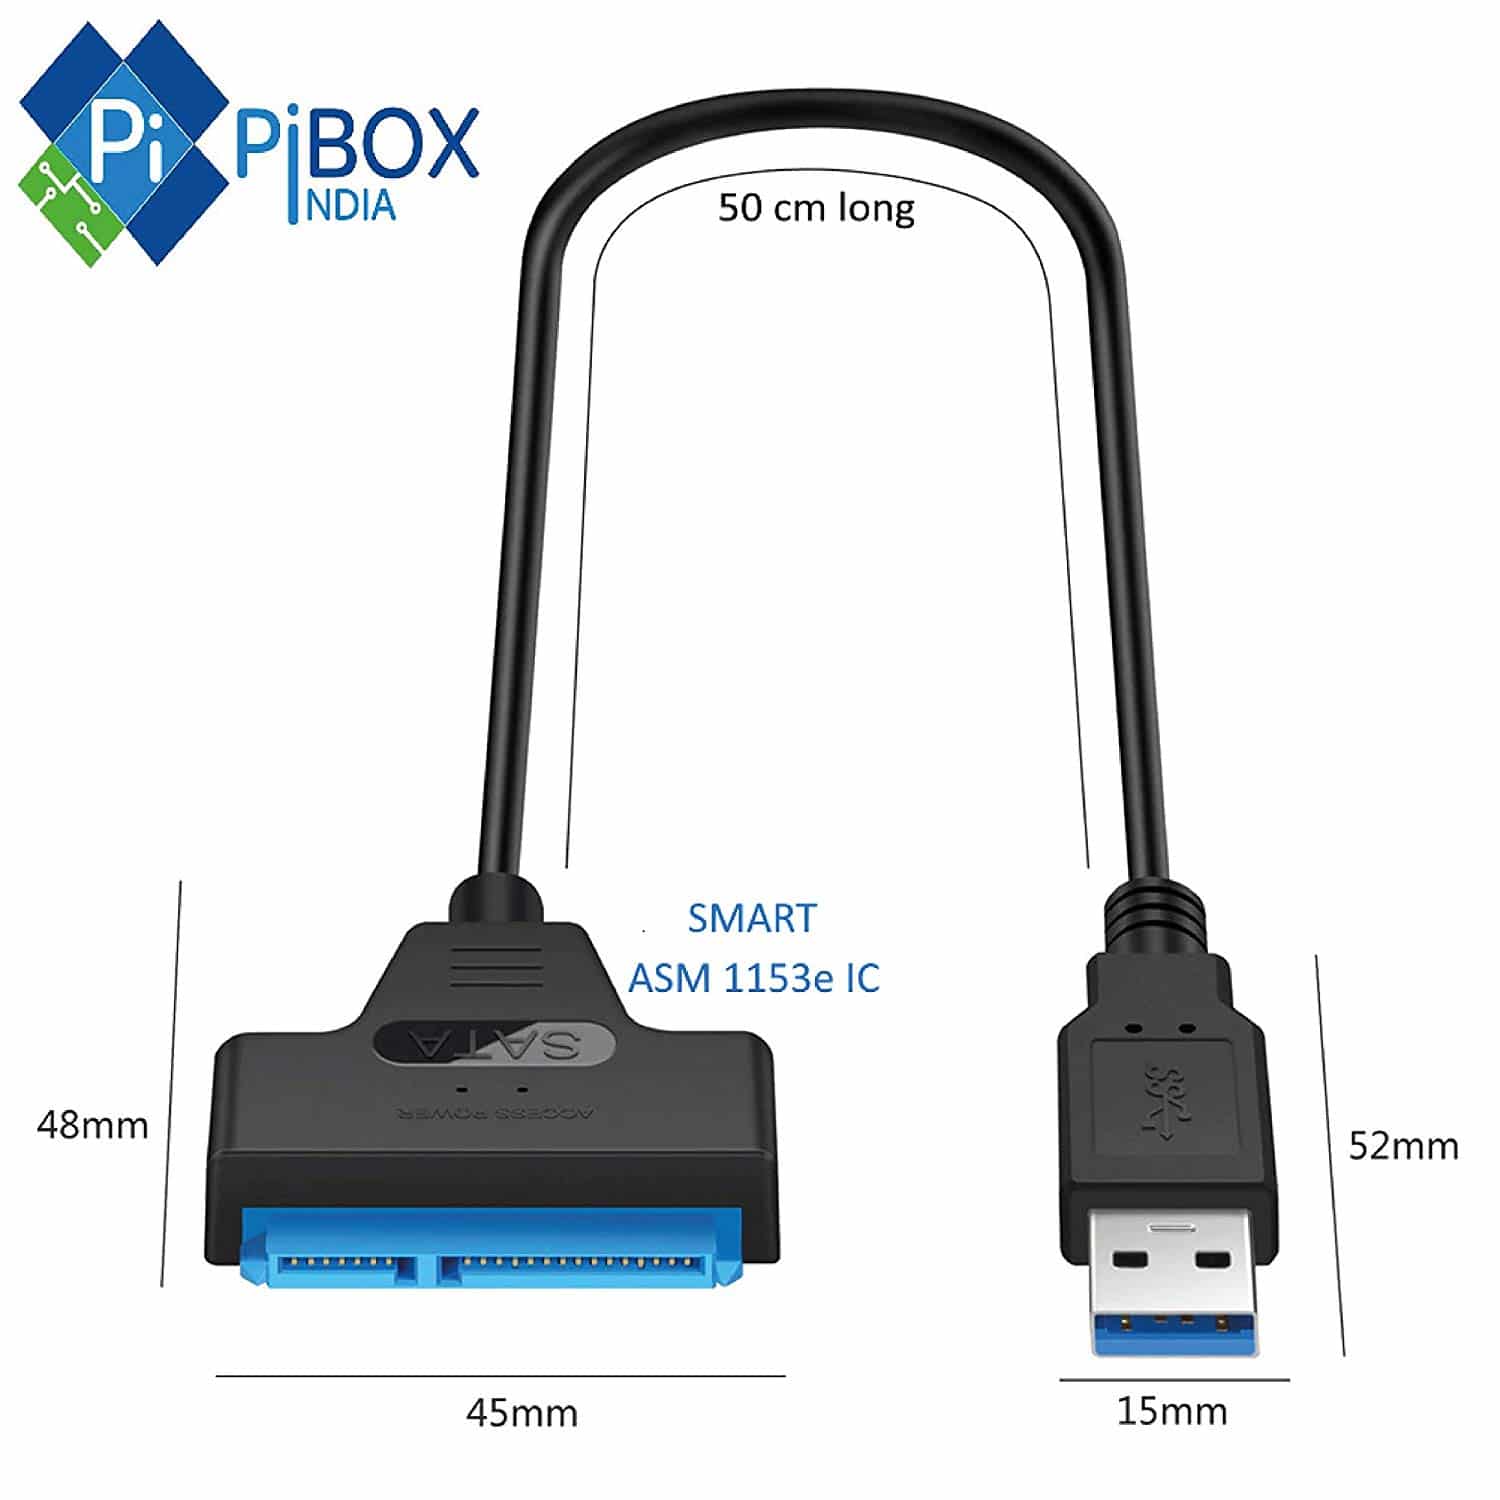
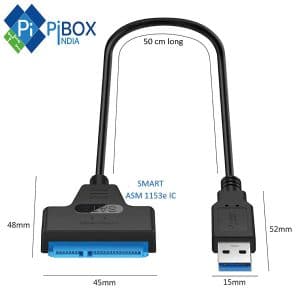
- Quickly access a SATA SSD OR HDD via the USB3.0 Port and 50cm long converter cable
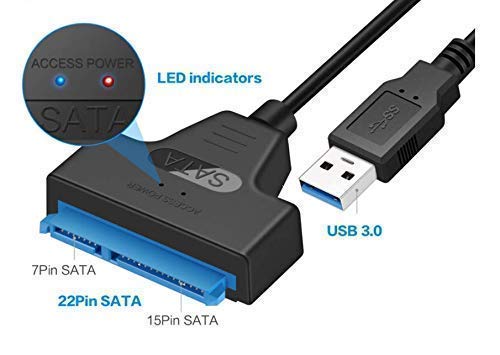
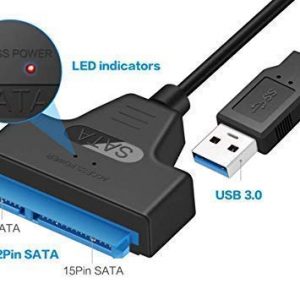
- LED status indicators for ‘Power’ and ‘Access’
- Add storage, perform backups, create disk images, implement data recoveries, and transfer content to your laptop
- FAST TRANSFER SPEEDS WITH UASP: The SATA to USB adapter supports USB 3.0 data transfer speeds of 5Gbps. But, you can experience transfer speeds up to 70% faster than conventional USB 3.0, when connected to a computer that also supports UASP
- SAVE TIME: Easily swap between drives with no need to install the drive inside an enclosure
- Powered by ASM 1153e Chipset bridge which offers the best reliability
- Cable will work ONLY with 2.5″ SATA drives, 3.5″/5.25″ drives are NOT SUPPORTED
Installation:
- Connect the SATA Connector to the SATA reciprocal on your 2.5” SATA hard drive/solid state drive.
- Connect the USB connector from the cable to a USB port on the host PC (Faster with USB 3.0)
Operation: Once the cable has been attached to a computer, the necessary software will automatically install, and the drive will be accessible as though it were installed within the system
Powering the Drive: The hard drive adapter requires no external power supply, as it is capable of receiving enough power from the USB3.0 Bus to which it is connected
Disconnecting the HDD or SSD
- Windows
- Select the “Safely remove Hardware and Eject Media” icon, located in the task bar.
- Select the USB Storage Device from the list that appears.
- Wait for the message indicating that it is safe to remove device.
Note: Removing the connected drive prior to receiving notification that it is safe to do so, could result in losing or corrupting data stored on the drive.
- Mac OS To safely disconnect, close any windows listing the contents of the removable drive. Click on the USB storage icon on the desktop, and drag it to the Trash Can icon on the desktop. Allow 5 seconds before physically removing the enclosure/drive from the computer
FAQs:
1. My Laptop/PC does not recognise my Hard Drive
Step1: Check Compatibility – This Sata to USB adapter works only for 2.5inch Desktop Hard Drives/SSD that can work on 5V DC.
Step2: Try a different USB3.0 port in a different PC/Computer.
Step3: Run diskmgmt.msc and initialise the disk.
2. I need to connect my 3.5inch Desktop HDD
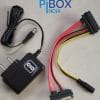
Step 1: Desktop HDD needs 12V supply for normal operations. Please visit www.pibox.in/
—
Installation
Hardware Installation
WARNING! Hard drives and storage enclosures require careful handling, especially when being transported. If you are not careful with your hard disk, lost data may result. Always handle your hard drive and storage device with caution. Be sure that you are properly grounded by wearing an anti-static strap when handling computer components or discharge yourself of any static electricity build-up by touching a large grounded metal surface (such as the computer case) for several seconds.
Note: This adapter cable will only work with 2.5” hard drives, and solid state drives. 3.5” Hard drives and optical drives require a high power load than can be provided via the USB bus.
- Connect the SATA Connector to the SATA reciprocal on your 2.5” SATA hard drive/ solid state
- Connect the USB connector from the cable to a USB port on the host computer system (optimal performance with USB 3.0, backward compatible with USB 0/1.1).
Operation
Connecting the Hard Drive
Once the cable has been attached to a computer, and the necessary software will automatically install, and the drive will be accessible as though it were installed within the system.
Prior to using the drive, it will need to be formatted according to your operating system requirements. To format your newly attached hard drive, or create partitions, please consult the documentation that accompanied your operating system at the time of purchase.
Powering the Drive
The hard drive adapter requires no external power supply, as it is capable of receiving enough power from the USB Bus to which it is connected
Disconnecting the Hard Drive
Windows
- Select the “Safely remove Hardware and Eject Media” icon, located in the task
- Select the USB Storage Device from the list that
- Wait for the message indicating that it is now safe to remove the
Note: Removing the connected drive prior to receiving notification that it is safe to do so, could result in losing or corrupting data stored on the drive. Once the Safe to Remove Hardware message appears, please disconnect the enclosure from the computer by removing the USB connection.
Mac OS X
To safely disconnect the attached drive from the host computer, close any windows listing the contents of the removable drive. Once all windows are closed, click on the USB storage icon on the desktop, and drag it to the Trash Can icon on the desktop. Allow 5 seconds before physically removing the enclosure/drive from the computer.
Initializing the Hard Drive
- If the SATA Hard Drive is blank it may need to be initialized and formatted before From the main Windows desktop, right-click on “My Computer” (“Computer” in Vista/ 7 / 8), then select Manage. In the new Computer Management window, select Disk Management from the left window panel.
- A dialog window should automatically appear, asking you to initialize the drive. Depending on the version of Windows, it will give you the option of either creating an “MBR” or “GPT” disk. GPT (GUID partition) is not compatible with some older operating systems, while MBR is supported by newer and older operating
- Once initialized, locate the Disk that says it is “Unallocated” (check the listed hard drive capacity to confirm it’s the correct hard drive) and then right-click in the section that says “Unallocated” and select “New Partition”.
- Follow the on screen prompts to initialize the drive in the format of your choice

Kamal Hira Das –
Cable is sturdy and Very portable to use.
Data transfer speed is very good and I like it very much.
I also got a Nice Pouch for the cable as an upgrade which I like very much.
Jai –
PiBox has really good products. Currently using sata to usb 3.0 and type c to hdmi both are working very well Thanks for the pouch and mobile stand.
logan37 –
just the one im looking for.
works as descibed; using it from 6 months.
remarkable quality.
ragu –
Good Quality, Works as expected
Dev Sinha –
Very good product .Cable is fine quality and fitting is also superb with hdd and USB
Dev Sinha –
GoodGood.Superb quality