DATA STORAGE PRODUCTS
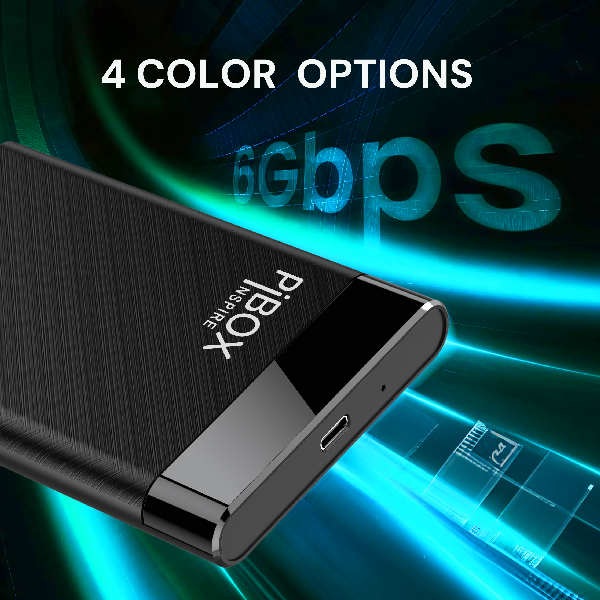
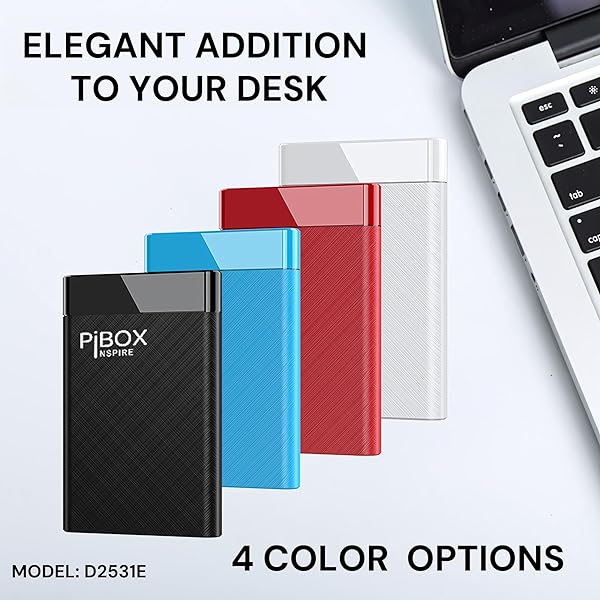
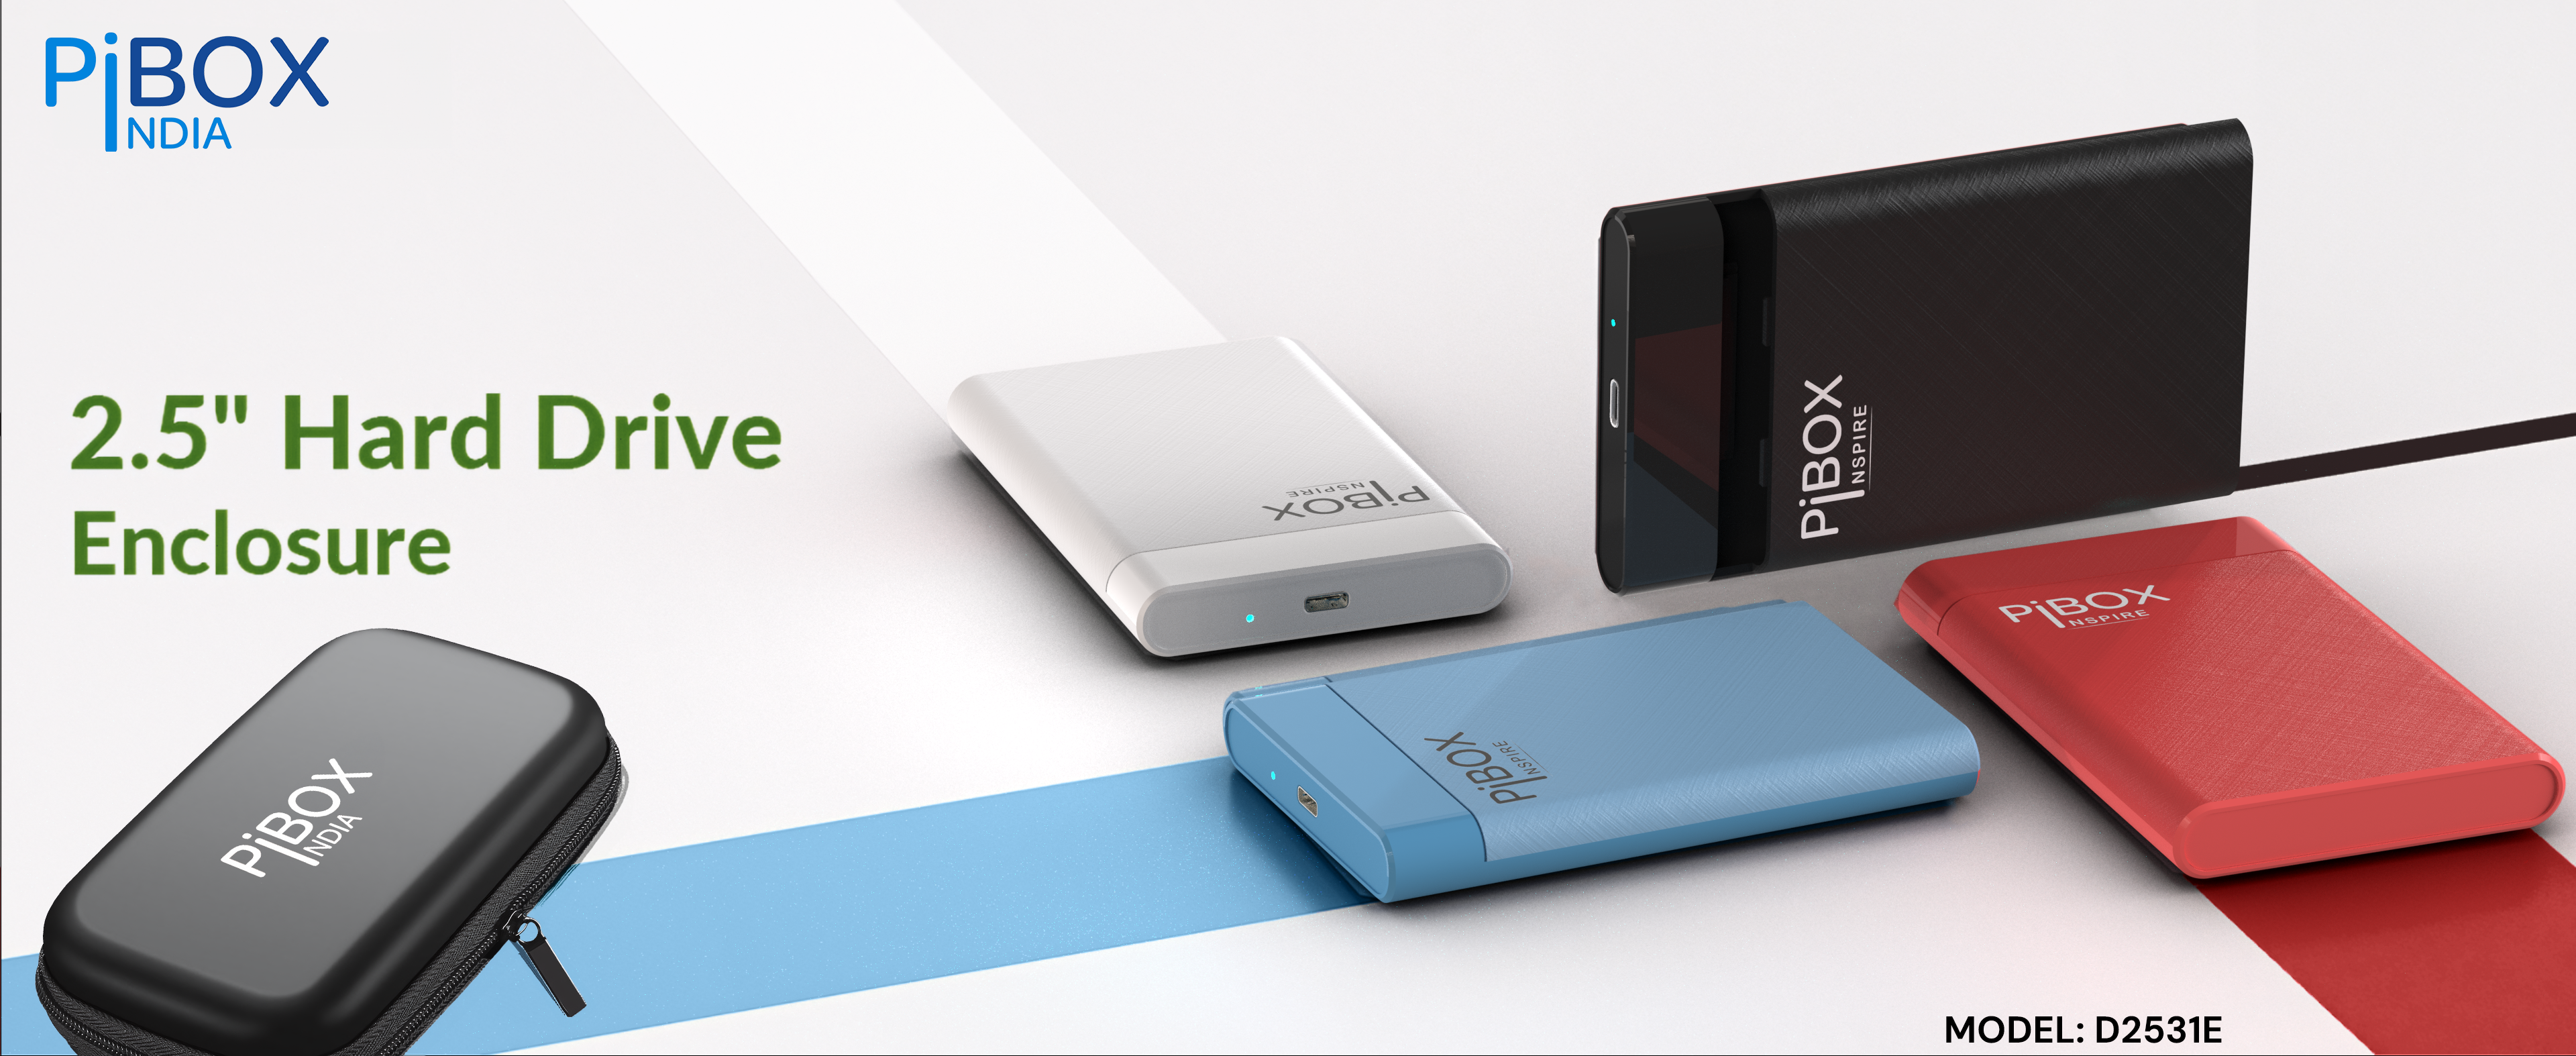
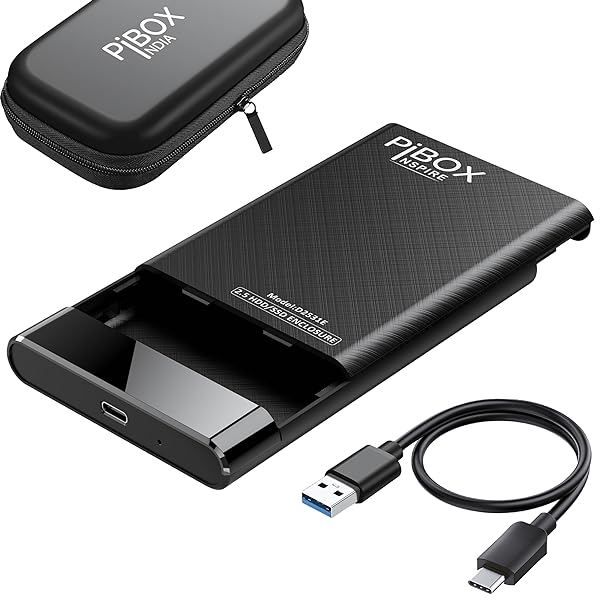
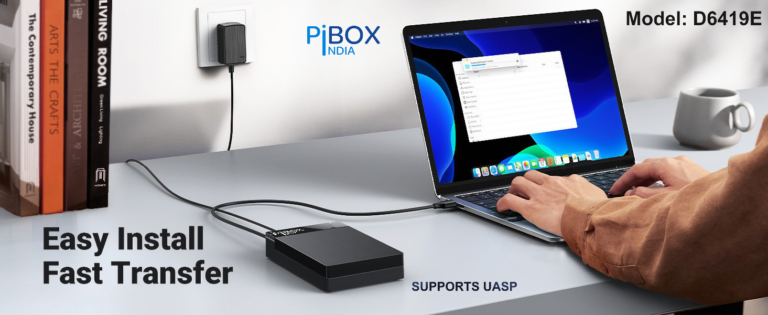
NEW 2024 – 2.5 HDD/SSD & 3.5 Enclosure – 3.1 Type C

PiBOX India HDD series:
Scope:
This document – will cover the following
- Product Series
- Comparision
- Troubleshooting
- Installation – [Refer individual product page]
Expand below topics for Detailed information – Press ∨ below
HDD Enclosure Series
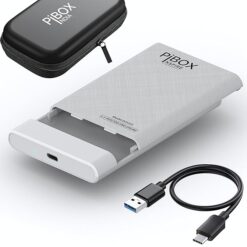
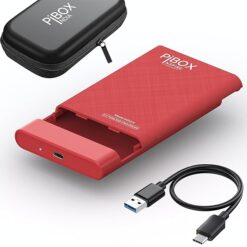
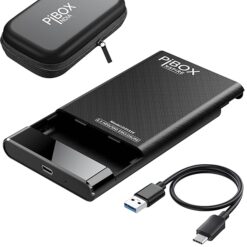
2.5 HDD & SSD Enclosure
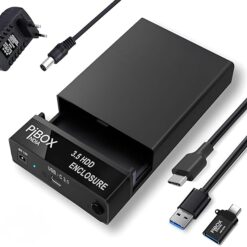
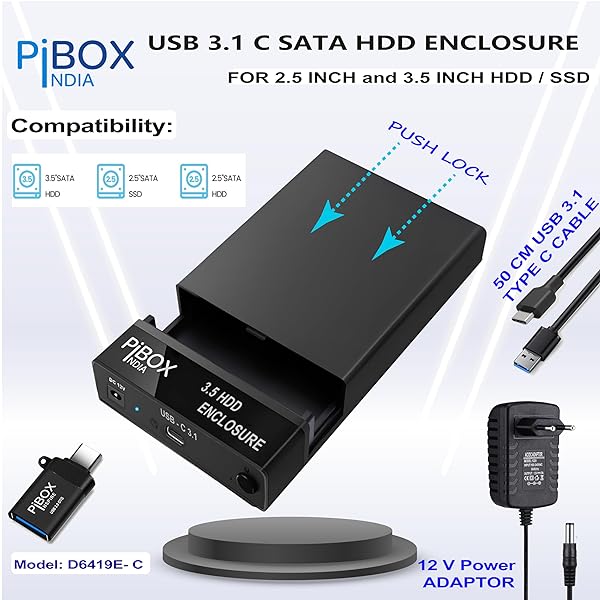
3.5 DESKTOP HDD & SSD Enclosure

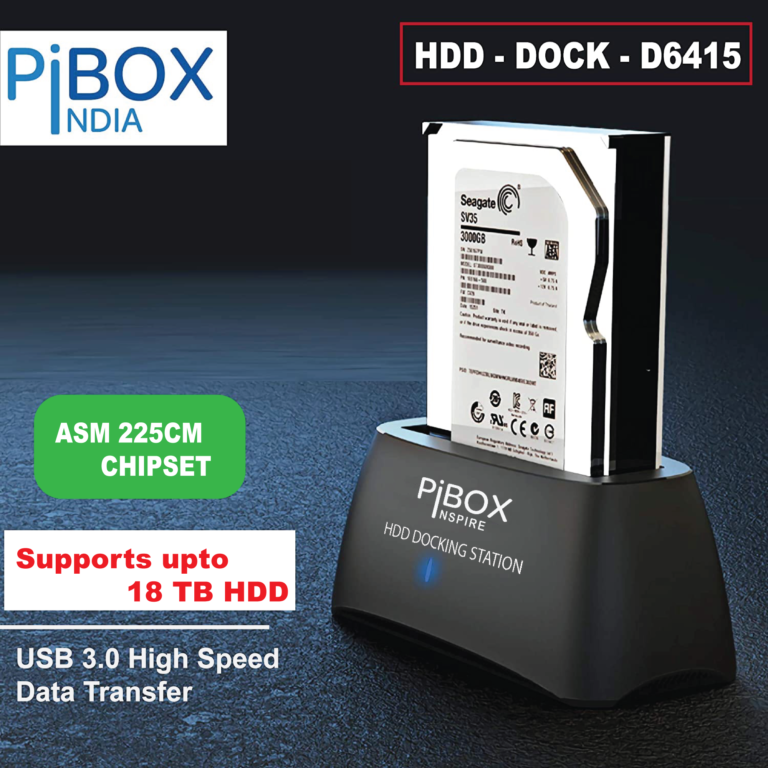
Docking Stations


INSTALLATION
Troubleshooting / FAQ
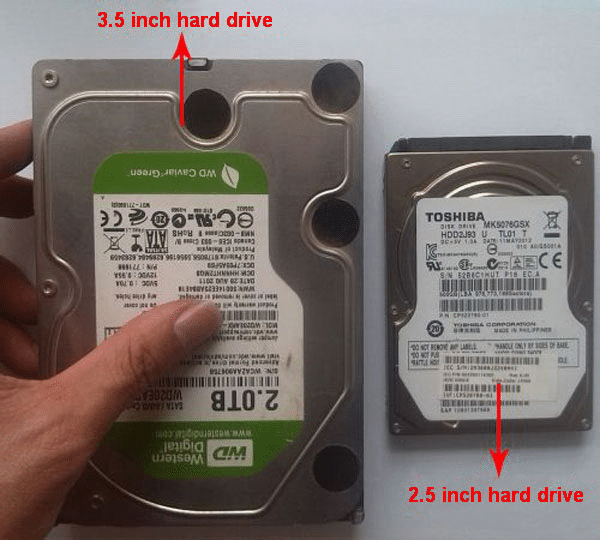
1. What model is my HDD? 2.5 inch or 3.5 inch? / Is my HDD laptop HDD or desktop HDD? I do not know my HDD model
- 2.5 inch HDDs are SSD or internal laptop HDDs, that can operate with 5V supplied by a standard USB3.0 port of a laptop/PC/media player/Gaming Console
- 3.5 inch HDDs are desktop HDDs, that need 12V/2A external supply to operate along with the 5V supply from a USB3.0 port.
2. I need to connect 3.5inch HDD, but I purchased a 2.5inch SATA to USB / Where can I get a 'DESKTOP KIT'? / How can I connect my 3.5 inch desktop HDD with 2.5 inch SATA to USB cable?
https://pibox.in/product/2-5to3-5-convertor-kit/
*USE COUPON CODE: “PIDKIT100″*
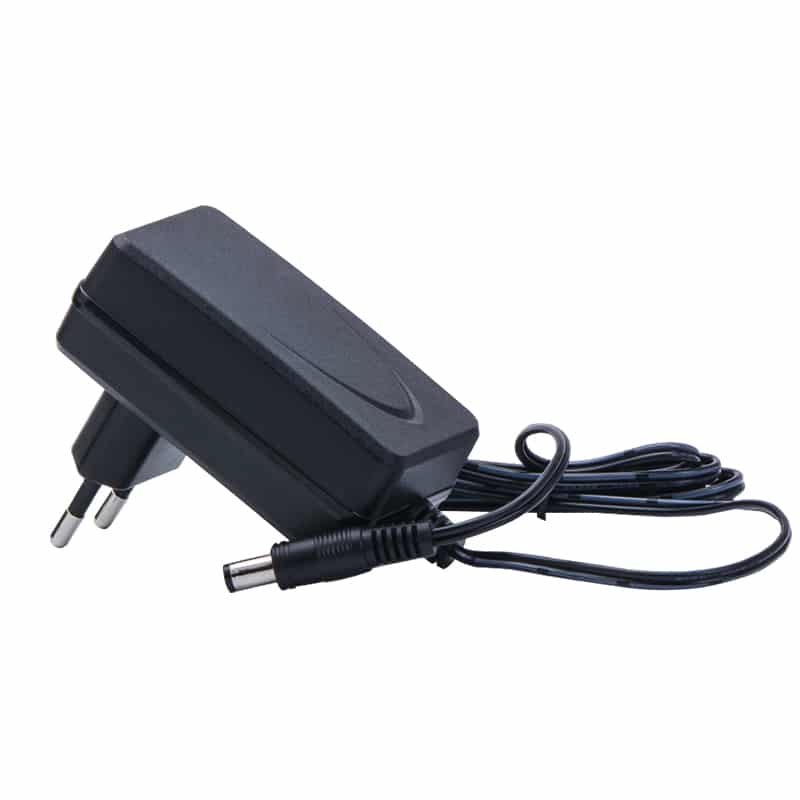
The Desktop Kit comes with a BIS certified Power adaptor and the extension kit. It comes with a 12V/2A power adapter to power the desktop HDD. The special price is 399 for the unit with 1 amps charger and *Rs.458 with 2 amps (Recommended)* power charger [compatible with all model desktop hdd]. You can place the order from PiBOX India link and add the *COUPON CODE: “PIDKIT100″* at checkout.
FAQ:
- What does this cable do? It adds 12V power inline. Pin out diagram is on listing if you want to DIY at home. You need a SATA to SATA extension cable and a 12V/2A adaptor.
- 1Amps/2Amps- Few hdd peak ampere may be higher than 1 amps and may not start while trying to use 12V/1A.
- Why should I get this cable? If you have purchased the SATA to USB for 2.5inch SSD/HDD, to connect your 3.5inch Desktop HDD, you can use this converter kit for your cable. Please note that the desktop hdd does not work with 2.5 inch cable as desktop hdd needs 12v power also, that usb3.0 cannot supply.
Good luck and thanks a lot for your trust!
3. How to connect my HDD using the SATA to USB adapter?
- To connect 2.5inch SSD/laptop HDD : Please connect the SATA head of the adapter to the SATA port of the SSD/HDD. Next, connect the USB port of the adapter to the USB3.0 port of a PC/MAC.

Note: The USB3.0 port should be capable of supplying 5V to the SATA SSD/HDD
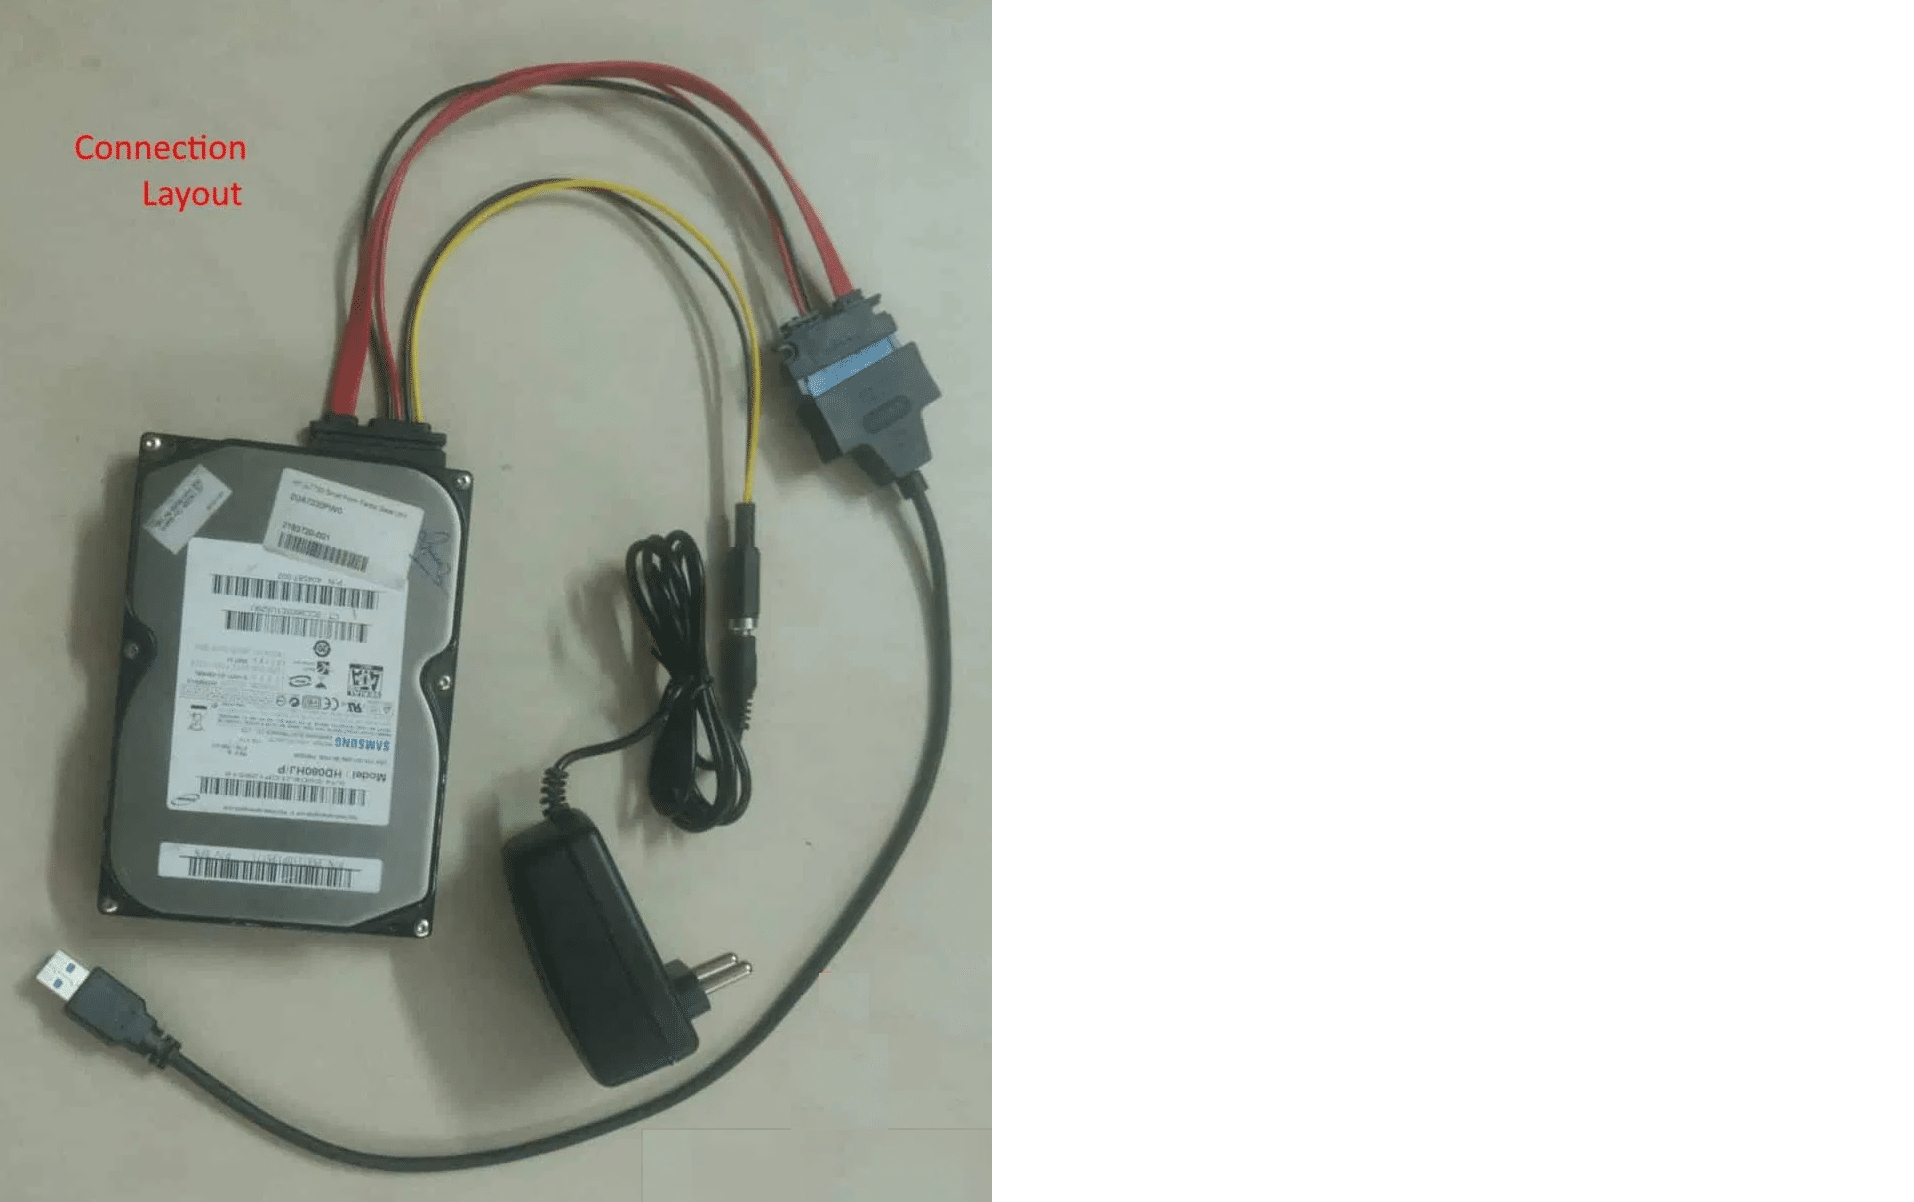
- To connect 3.5inch desktop HDD: To connect a 3.5inch HDD, there are 2 components.
-
- 5 inch SATA to USB 3.0 adapter with DC power port – to connect the HDD to a USB3.0 port and to connect to a 12V DC supply.
- 12V/2A DC power supply – the 3.5inch HDD motor needs 12V supply to spin. The external supply connects to the DC power supply port of the SATA to USB adapter.


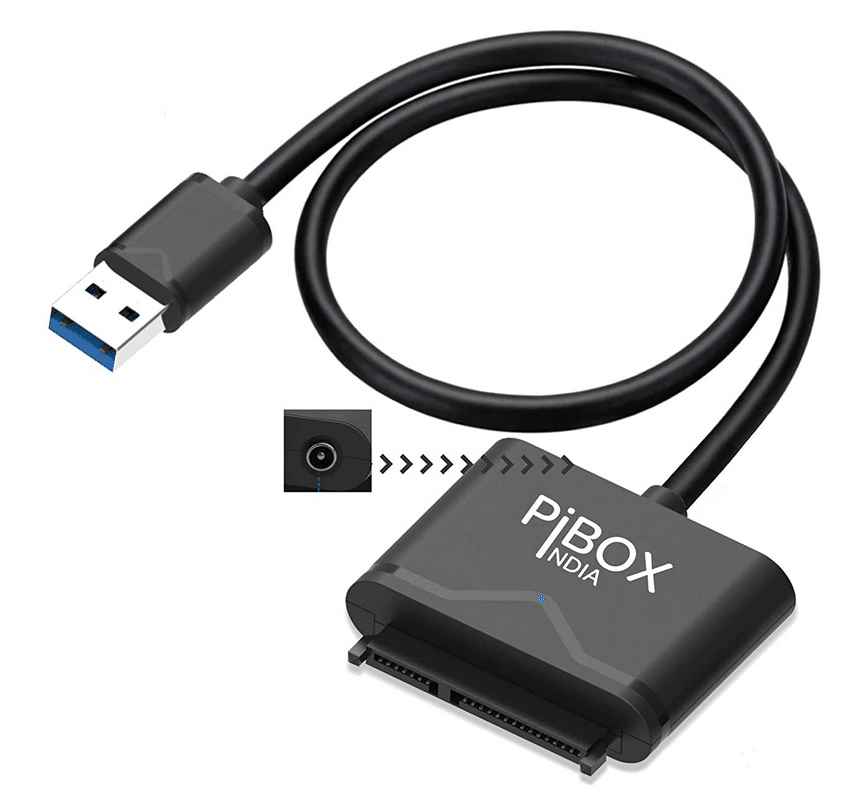
Please connect the SATA head of the adapter to the SATA port of the HDD. Next, connect the USB port of the adapter to the USB3.0 port of a PC/MAC. Connect the 12V/2A DC power pin to the adapter. Power ON the 12V DC supply
4. My HDD is not connecting or being detected / My computer or PC or MAC is not reading my Hard drive/ How to connect my hard drive?
- Check if your HDD is 2.5 inch or 3.5 inch desktop HDD. Check if you have purchased the 2.5inch SATA to USB or the 3.5inch SATA to USB.
- Check if the power LED is turned ON
- Check if the USB port is USB3.0?
- If you are connecting a 3.5inch Desktop HDD using the 3.5inch SATA to USB converter, please check if you can hear/feel the HDD spin.
- Please check the USB device to which you are connecting the SATA HDD. Some mobile phones/TV USB ports may not be able to supply 5V required for the HDD operation.
- Please run Disk Management (Start Menu -> Run -> diskmgmt.msc ) and check if you need to initialize your HDD.
- If you are using a new HDD, you may have to create necessary partitions. MBR has limitation of 2TB and you need to convert the partition to GPT. For detailed explanation
Please visit https://youtu.be/ZxV6IcNvbek
5. What are the Steps to initialize the HDD? I can hear the HDD spin but my PC does not read my HDD?
- Please run Disk Management (Start Menu -> Run -> diskmgmt.msc ) and check if your HDD is detected.
- Right Click the HDD drive and select ‘Initialise’
- Please be cautious to avoid format or deletion of data.
6. How to create a partition in the drive using a Windows PC?
- Please run Disk Management (Start Menu -> Run -> diskmgmt.msc ) and check if your HDD is detected.
- Right-click Unallocated or RAW volume, and select New Simple Volume.
- In the New Partition Wizard, click Next.
- Select Primary partition.
- Leave the partition size set to default, and click Next.
- Assign a drive letter or leave it set to the default, and click Next.
- Enter the following settings to format the partition
- In the File System field, enter NTFS.
- Set the Allocation unit size to Default.
- In the Volume label field, enter <your name/reference>.
- Select the Perform a quick format check box.
- Clear the Enable file and folder compression check box.
- Click Next > Finish.
7. Create a partition on a drive in MAC?
Note: The following steps create an HFS+ (Mac OS Extended (Journaled)) partition that uses the entire drive space.
To create a partition on a new drive, complete the following:
- Open Finder.
- Navigate to Applications and click Utilities.
- Open Disk Utility.
- Select the new drive and click the Partition tab.
- Click Options and verify that it is set to GUID Partition Table.
- Enter a name for the partition.
- Click Partition.
The drive should now be accessible in Finder.
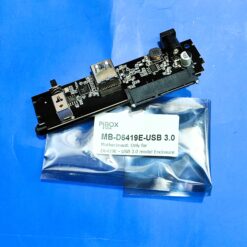
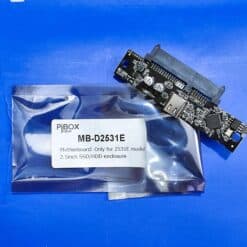
7. Does PiBOX units support TRIM
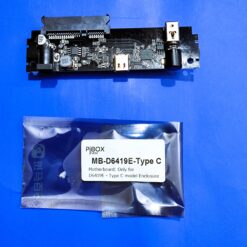
Short answer YES. All models including PiBOX 2531. 6419 supports TRIM function.
Below is a production run from a PiBOX 2531e enclosure:
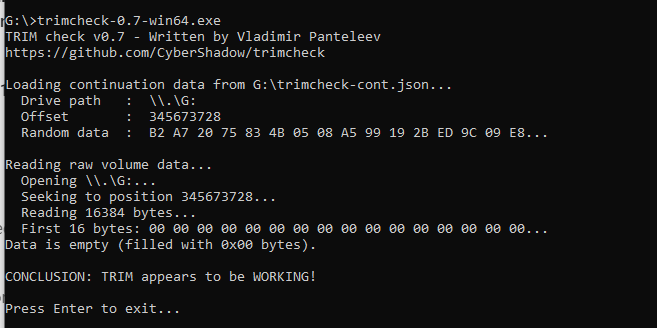
Verify if TRIM is Working on a Specific SSD
-
Download trimcheck:
- Go to the trimcheck GitHub page.
- Download and extract the latest release.
-
Run trimcheck:
- Open Command Prompt and navigate to the folder where you extracted trimcheck.
- Run trimcheck by typing
trimcheckand pressing Enter. - Follow the instructions to create a test file on the SSD and wait for the specified period.
-
Run trimcheck again:
- After waiting, run trimcheck again to verify if the test file has been zeroed out by TRIM.
These steps will help you check if TRIM is supported and functioning on a specific SSD in your system.
SHOP:
₹211.02 Excludes GST
Sale!
Original price was: ₹168.64.₹79.66Current price is: ₹79.66. Excludes GST