General
Raspberry PI4 JumpStart Combo
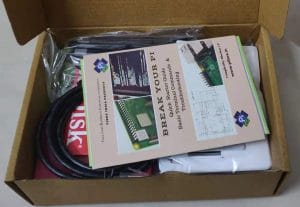
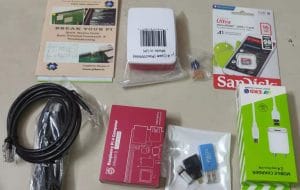
Please see the Unbox photos and basic instructions photo of the new Jumpstart Combo (Detailed Instructions and video will be added shortly)
FAQ on Combo and new PI4:-
- Break Your PI – Book was originally compiled for 3b+ and Pi 4 book is in the works and you can get your copy for Free once launched. Let us know when you register.
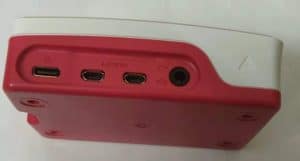
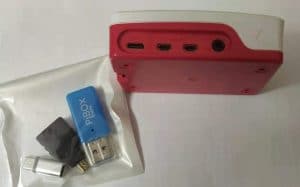
- Raspberry PI 4 sends HDMI Video signal out primarily on the LEFT (Port adjacent to the USB C port (See photos below)
- If you need to connect two displays at the same time then you need to use Micro HDMI slim cables directly as the adaptor will allow you to connect only one display
- Micro HDMI adaptor is provided instead of a direct micro hdmi cable for ease of use if existing hdmi cable has to be use
- Register your product for 1 year warranty at www.pibox.in/register
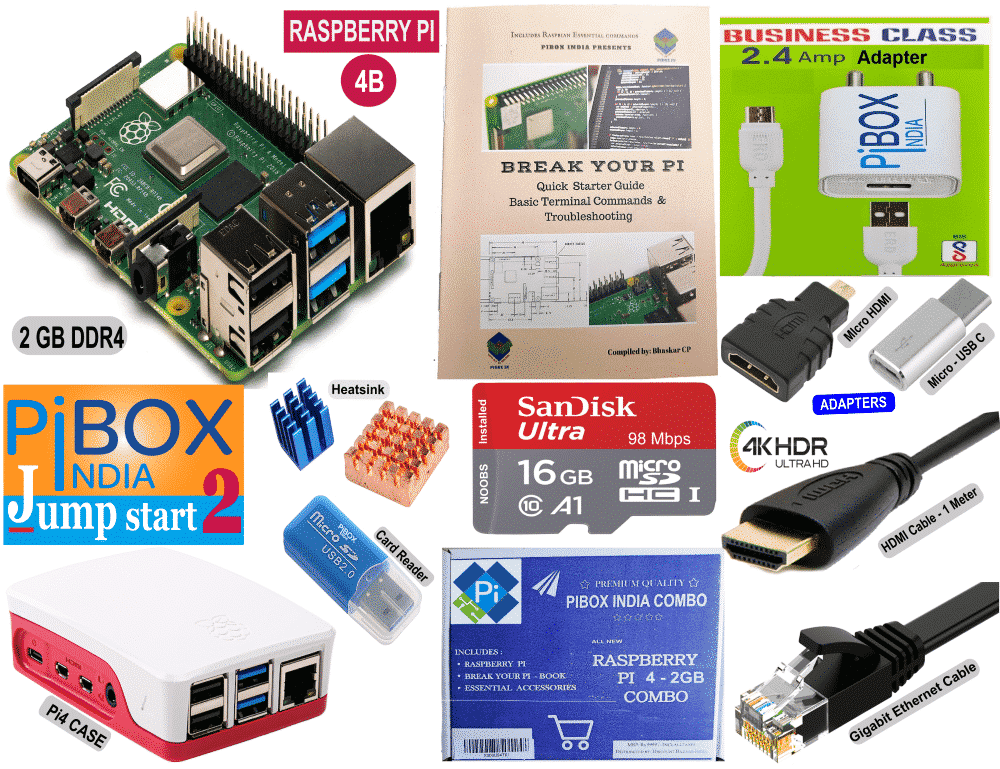
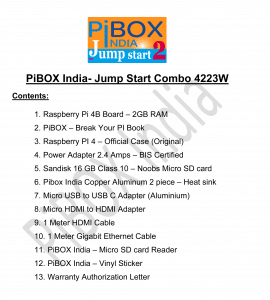
Contents:-
- Verify Contents to see if they are intact.
2. Unpack your devices carefully:
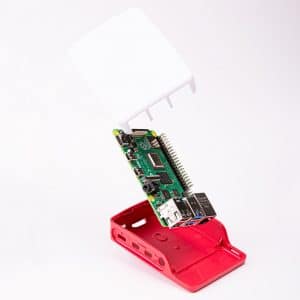
3. Install the Raspberry PI Board on the Raspberry PI Case
4. Install the Rubber Feet on the 4 hinges on the bottom of the case.
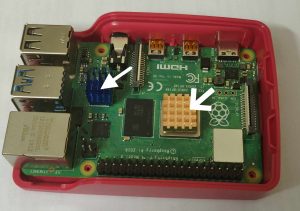
5. Install the Copper Heatsink and the Aluminium Blue heatsink as shown below on the photo. (Peel the sticker to Install)
6. Close the top of the case and ensure the ports lineup well as needed.
7. Connect the USB C type port to the Micro USB charger cable and Micro HDMI adaptor to HDMI Cable.
Note:- Make sure you use the Primary Micro HDMI Port for display. Avoid the second port.
8. Power up your device and connect the HDMI cable to TV and get ready to Jumpstart your PI
This brings us to the end of this Installation !!!
Please provide any inputs and comments below.
All the best!!!



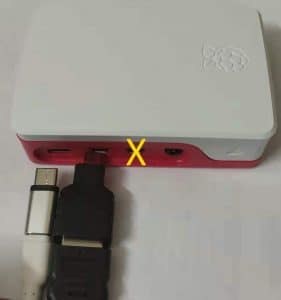
Just unpacked and connected my pi4 pibox. over twenty miniutes now but no display. How much does it take for first time booting? The yellow light beside red power LED keeps blinking. No display on HDMI connected to my computer monitor.
Please use the left HDMI port and if there are issues please contact support via whatsapp 8072238441
This is because of HDMI Hotplug issue that we are seeing with the newer OS version. You need to look for the command “hdmi_force_hotplug=1” and uncomment it by removing the # symbol on the config file. Google hdmi hotplug raspberry pi and you can see the procedure. You can also contact support via whatsapp.
All the necessary items required for starting development is packed in one bundle is really good idea.
Thanks a lot
Hello Pi Team, Bhaskar,
I’ve Sony – Android TV and Dell Laptop.
Is it safe to use Pi 4 B with Sony TV?
Also my laptop has Windows 10 with HDMI port.
Can I connect Pi 4 B with Laptop, while windows 10 is running?
best regards,
Vidyesh
[email protected]
Yes it will work with any TV. For connecting to laptop you can use VNC setup.
Good product.
after unpacked and connected my pi4 pibox there is no display and not conneccted with mouse and keyboard is there latency on first time booting? The yellow and red LED keeps blinking. No display on HDMI connected to my computer monitor.
Received my PI4 kit today. Decently packaged kit with required components to get started with experimentation.